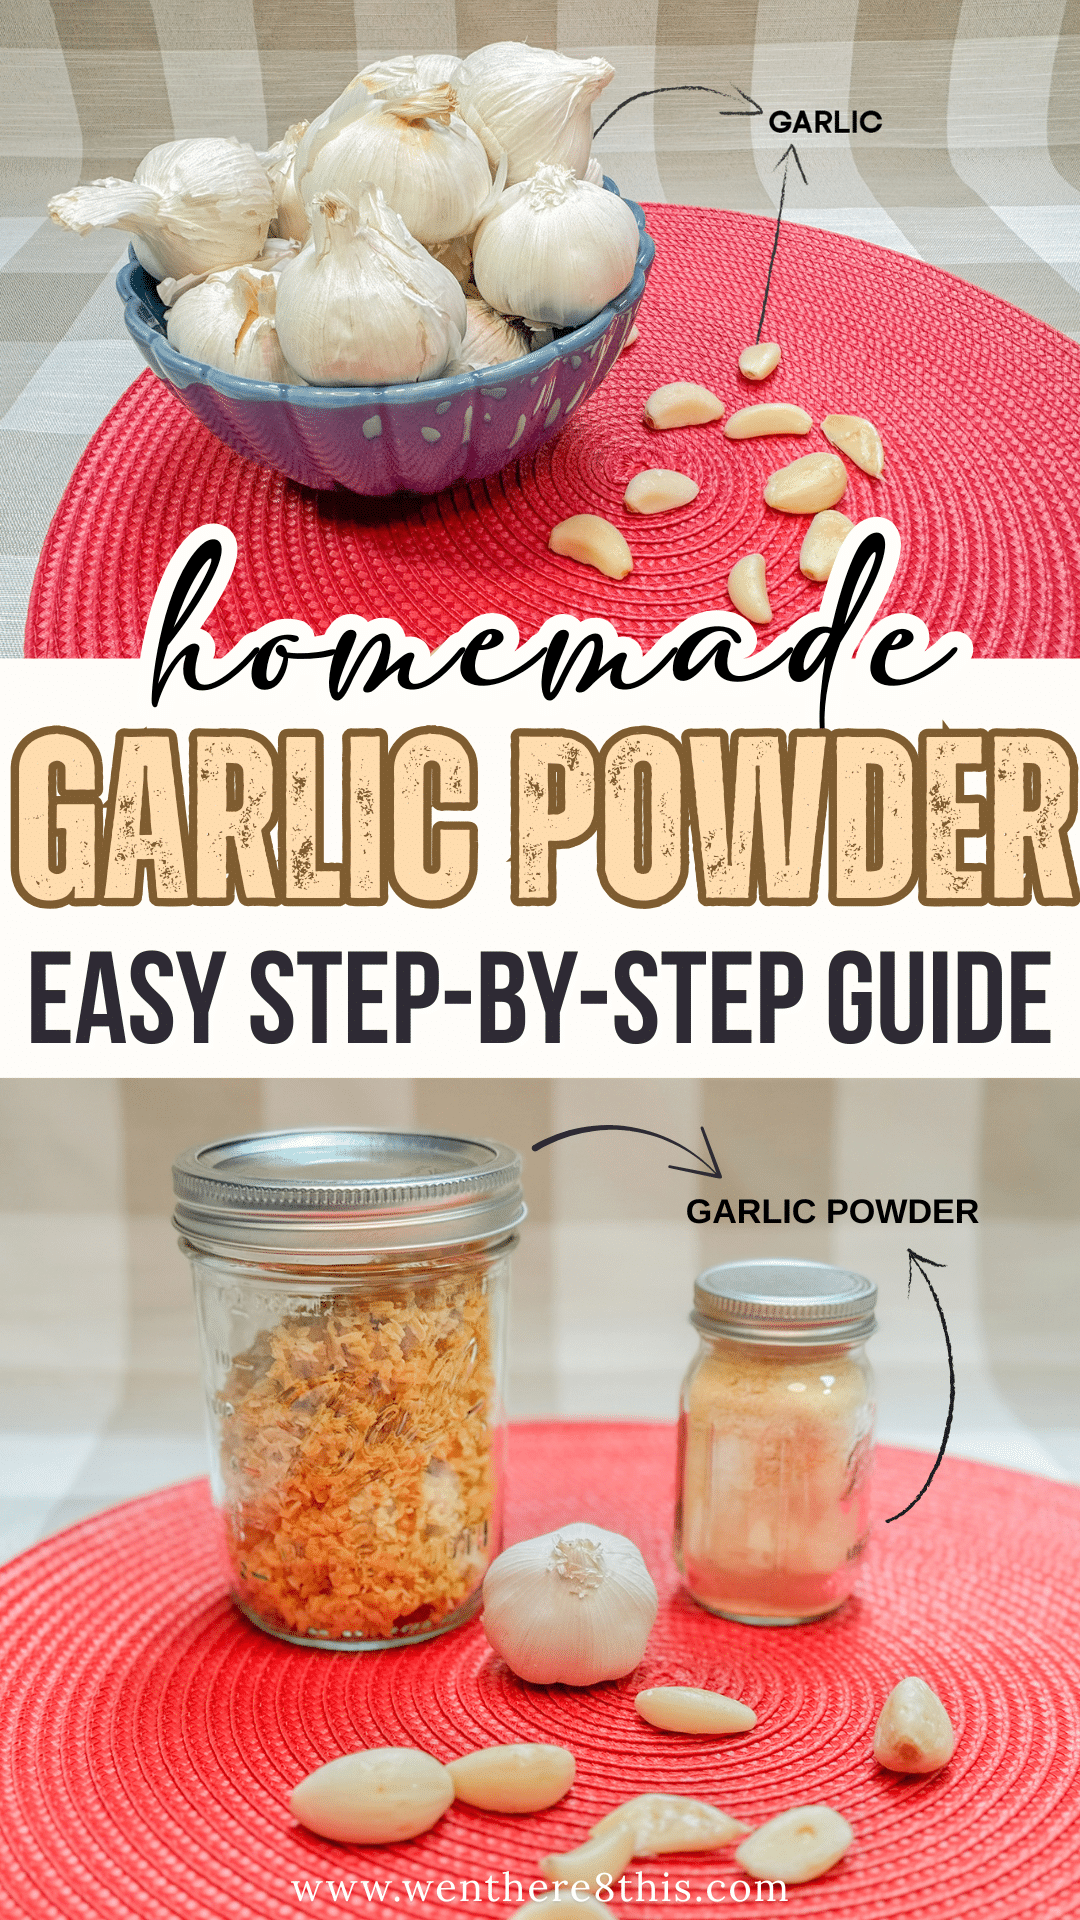
Garlic lovers, unite! If you’ve ever sprinkled a little too much garlic powder on your popcorn, stirred it into a bubbling pot of stew, or snuck it into just about everything you cook (guilty 🙋♀️), then you’re in the right place. Today, we’re diving into how to make your very own homemade garlic powder—because let’s be real, the store-bought stuff just doesn’t compare.
Homemade garlic powder is fresher, more flavorful, and dare I say…a little addictive. Once you see how easy it is, you’ll never go back to the sad little spice jars at the grocery store.

Why This Recipe Works
- Flavor on steroids: Dehydrating garlic concentrates its natural flavor, giving you a punchier powder.
- Shelf-stable magic: With proper drying, conditioning, and storage, you can keep your garlic powder fresh for over a year.
- Less waste, more savings: Bought too much garlic at the market? Or ended up with a giant Costco bag of pre-peeled cloves? Garlic powder to the rescue!
Jump to:
Want to Save This Recipe?
Enter your email & I'll send it to your inbox. Plus, get great new recipes from me every week!
By submitting this form, you consent to receive emails from Went Here 8 This.
What is My Take on How to Make Garlic Powder
I like my garlic powder bold but not bitter. That means slow, even drying (your house will smell like garlic heaven—consider this a perk or a warning 😂). I also swear by conditioning—the step most people skip but is essential if you don’t want moldy garlic. Trust me, there’s nothing sadder than tossing out a whole jar of your homemade work.
Make it a Meal
Once you’ve got homemade garlic powder, the options are endless. Sprinkle it on roasted veggies, whisk it into marinades, or stir it into soups and stews for instant umami goodness. I even like to dust it over buttered popcorn with a little Parmesan—chef’s kiss.
Easy Side Dishes
Now that you have fresh garlic power pair your garlic powder creations with these simple dishes:
Ingredients
The full list of ingredients and amounts can be found in the recipe card at the bottom of the post.
Step By Step Instructions
1. Preparation
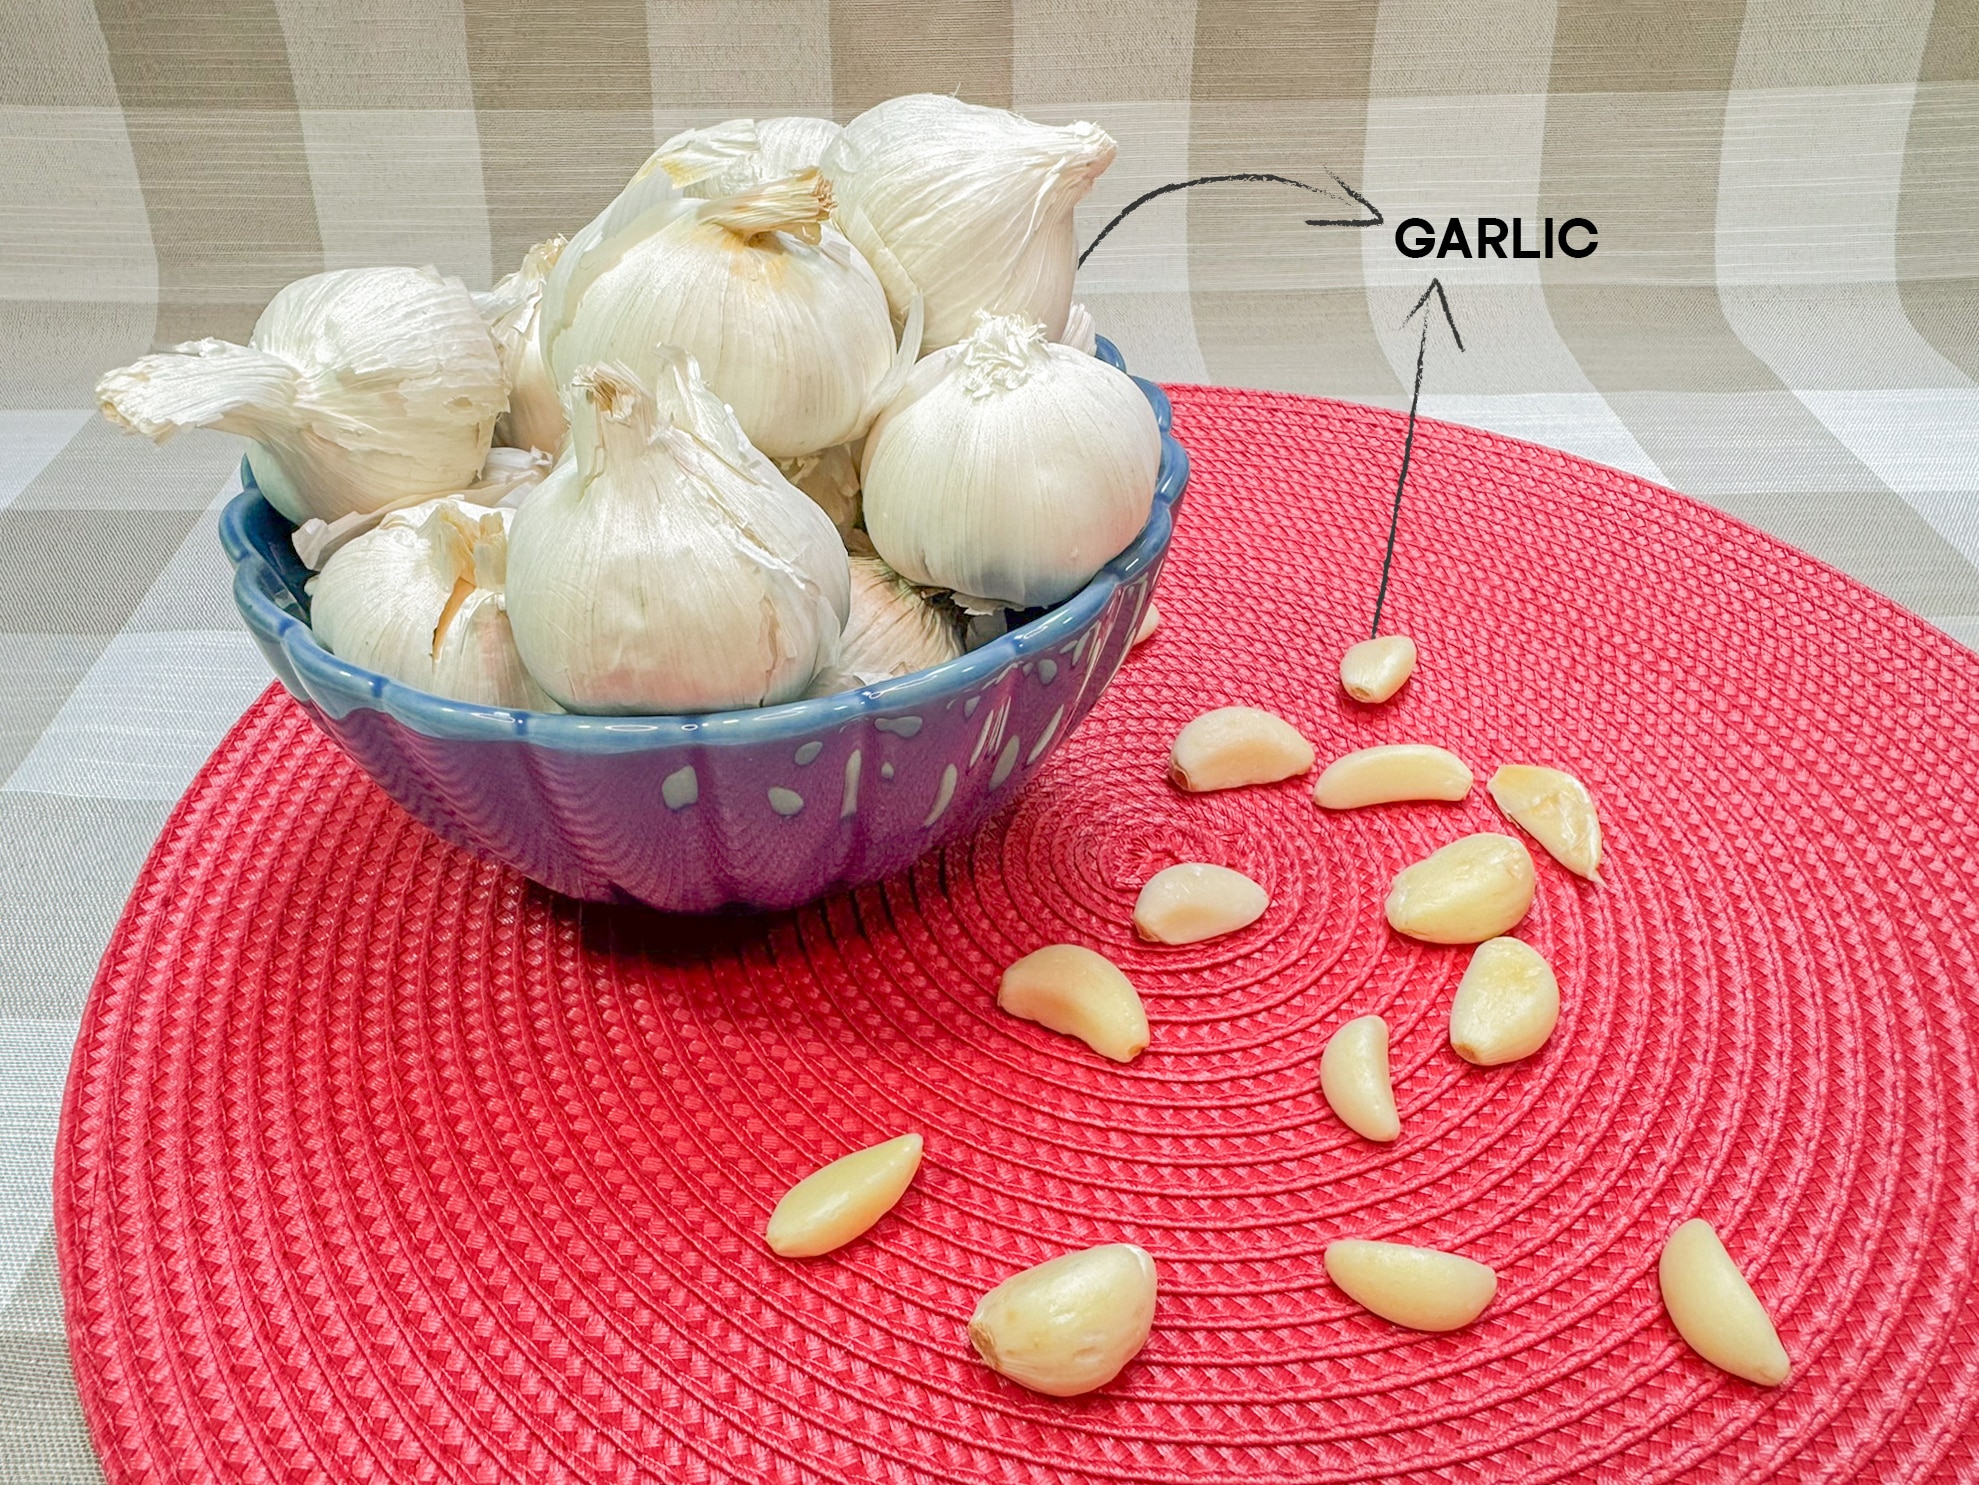
- Break apart your garlic bulb into individual cloves, peel off the papery skin.
- Slice cloves thinly or mince evenly—uniform size = even drying.
- Pro tip: A food processor with a slicing disc can save time (and your fingers).
2. Drying
- Spread garlic slices in a single layer on dehydrator trays.
- Set dehydrator to 105–140°F (40–60°C).
- Dry 8–16 hours (overnight is best).
- Optional: Place your dehydrator outside unless you want your entire house to smell like a pizzeria.
3. Checking for Dryness
- Properly dried garlic = brittle, snaps like a chip.
- Should be lightly golden, not burnt.
- If you see a faint blue/green tinge, don’t panic—it just means your garlic was older.
4. Conditioning
- Let garlic cool completely.
- Place in jars without moisture packets yet.
- For 5–7 days, flip the jars daily—if garlic clumps or sticks, it needs more drying.
- Toss if mold appears (don’t risk it).
5. Storage
- After conditioning, add a desiccant pack and seal in airtight jars.
- Store in a cool, dark pantry.
- For extra-long storage (1+ years), freeze it!
6. Usage
- Dried garlic is potent—use less than store bought powder.
- Measurements:
- ¼ teaspoon dehydrated garlic = 1 clove fresh
- 2 teaspoon dehydrated garlic = 1 teaspoon garlic powder
- ½ cup dehydrated garlic ≈ ¼ cup garlic powder
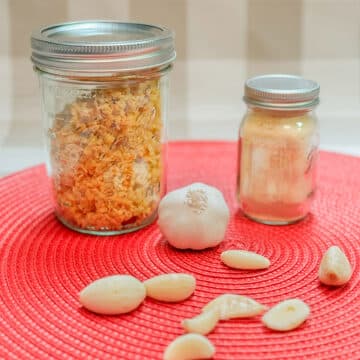
Making Garlic Powder
- Pulse dried garlic in a blender, food processor, or Bullet in small batches.
- Pulse 3–5 times until powdered—don’t overdo it or it will clump.
- Store in jars with moisture packets.
- Pro tip: Don’t open the jar over steam—moisture = clumpy mess.
Expert Tips
- Oven option: No dehydrator? Use your oven at the lowest temp (150°F / 65°C). Line a baking sheet with parchment, spread garlic, and bake until brittle.
- Batch size: 3 lbs of fresh garlic = about 6 trays, yielding 1.5 cups minced per tray.
- Don’t skip conditioning: It prevents mold and saves your precious powder.
Common Questions
Nope! They’ll never dry evenly and could mold. Thin slices or mince only.
Do I need silica packs?
Yes. Silica packs are cheap insurance against clumps and mold.
Stored properly, garlic powder lasts over a year. I freeze mine if I make a big batch.
Storing Instructions
- Store in small airtight glass jars with moisture packets.
- Keep in a cool, dark place (pantry or cupboard).
- For bulk batches, freeze portions and refill jars as needed.
Did you enjoy this homemade Garlic Powder? Rate the recipe and leave a comment to let me know how they turned out!
Recipe
How to Make Garlic Powder
Ingredients
- fresh garlic
Instructions
- Preparation
- Break apart your garlic bulb into individual cloves, peel off the papery skin.
- Slice cloves thinly or mince evenly—uniform size = even drying.
- Pro tip: A food processor with a slicing disc can save time (and your fingers).
- Drying
- Spread garlic slices in a single layer on dehydrator trays.
- Set dehydrator to 105–140°F (40–60°C).
- Dry 8–16 hours (overnight is best).
- Optional: Place your dehydrator outside unless you want your entire house to smell like a pizzeria.
- Checking for Dryness
- Properly dried garlic = brittle, snaps like a chip.
- Should be lightly golden, not burnt.
- If you see a faint blue/green tinge, don’t panic—it just means your garlic was older.
- Conditioning
- Let garlic cool completely.
- Place in jars without moisture packets yet.
- For 5–7 days, flip the jars daily—if garlic clumps or sticks, it needs more drying.
- Toss if mold appears (don’t risk it).
Expert Tips:
- Oven option: No dehydrator? Use your oven at the lowest temp (150°F / 65°C). Line a baking sheet with parchment, spread garlic, and bake until brittle.
- Batch size: 3 lbs of fresh garlic = about 6 trays, yielding 1.5 cups minced per tray.
- Don’t skip conditioning: It prevents mold and saves your precious powder.

Comments
No Comments