This post may contain affiliate links. Please read my disclosure.
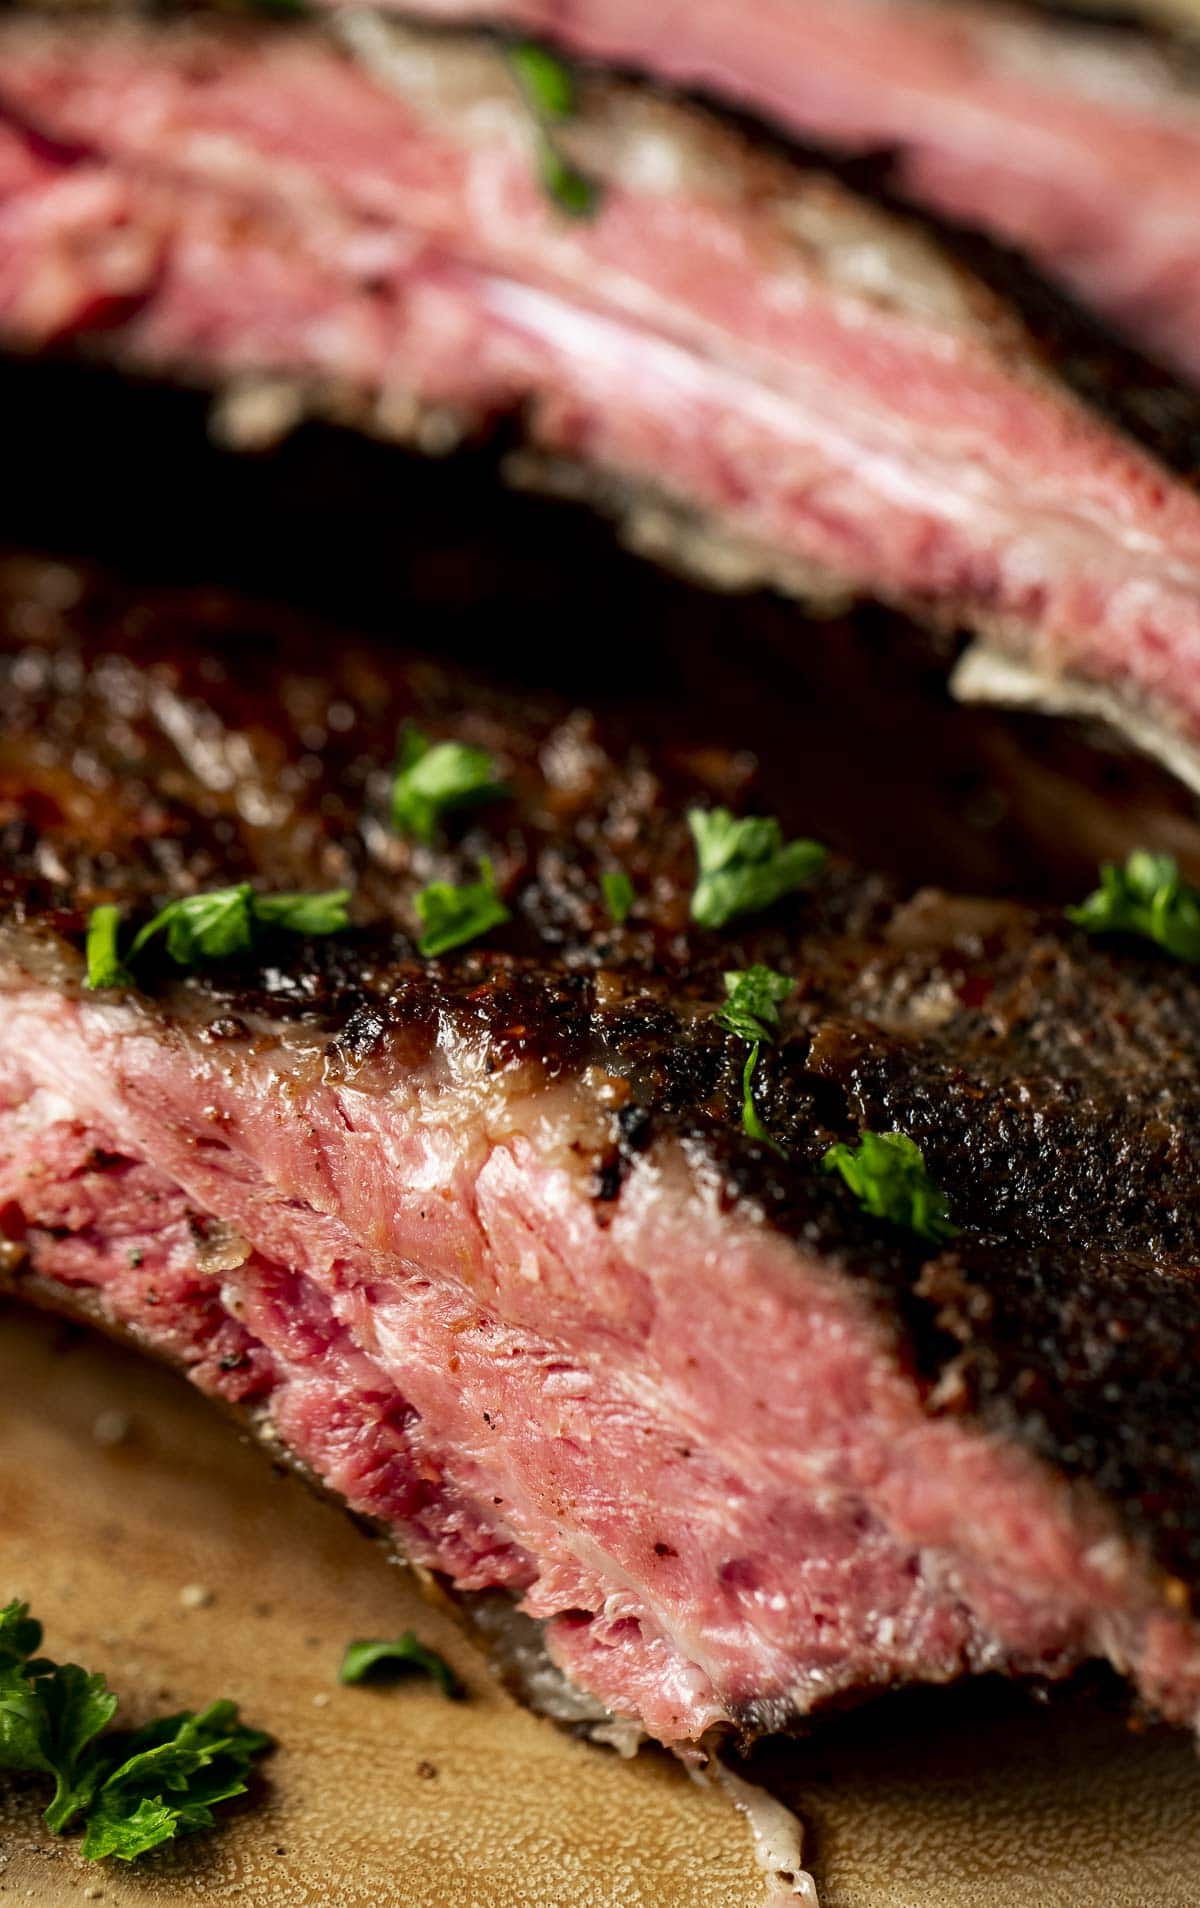
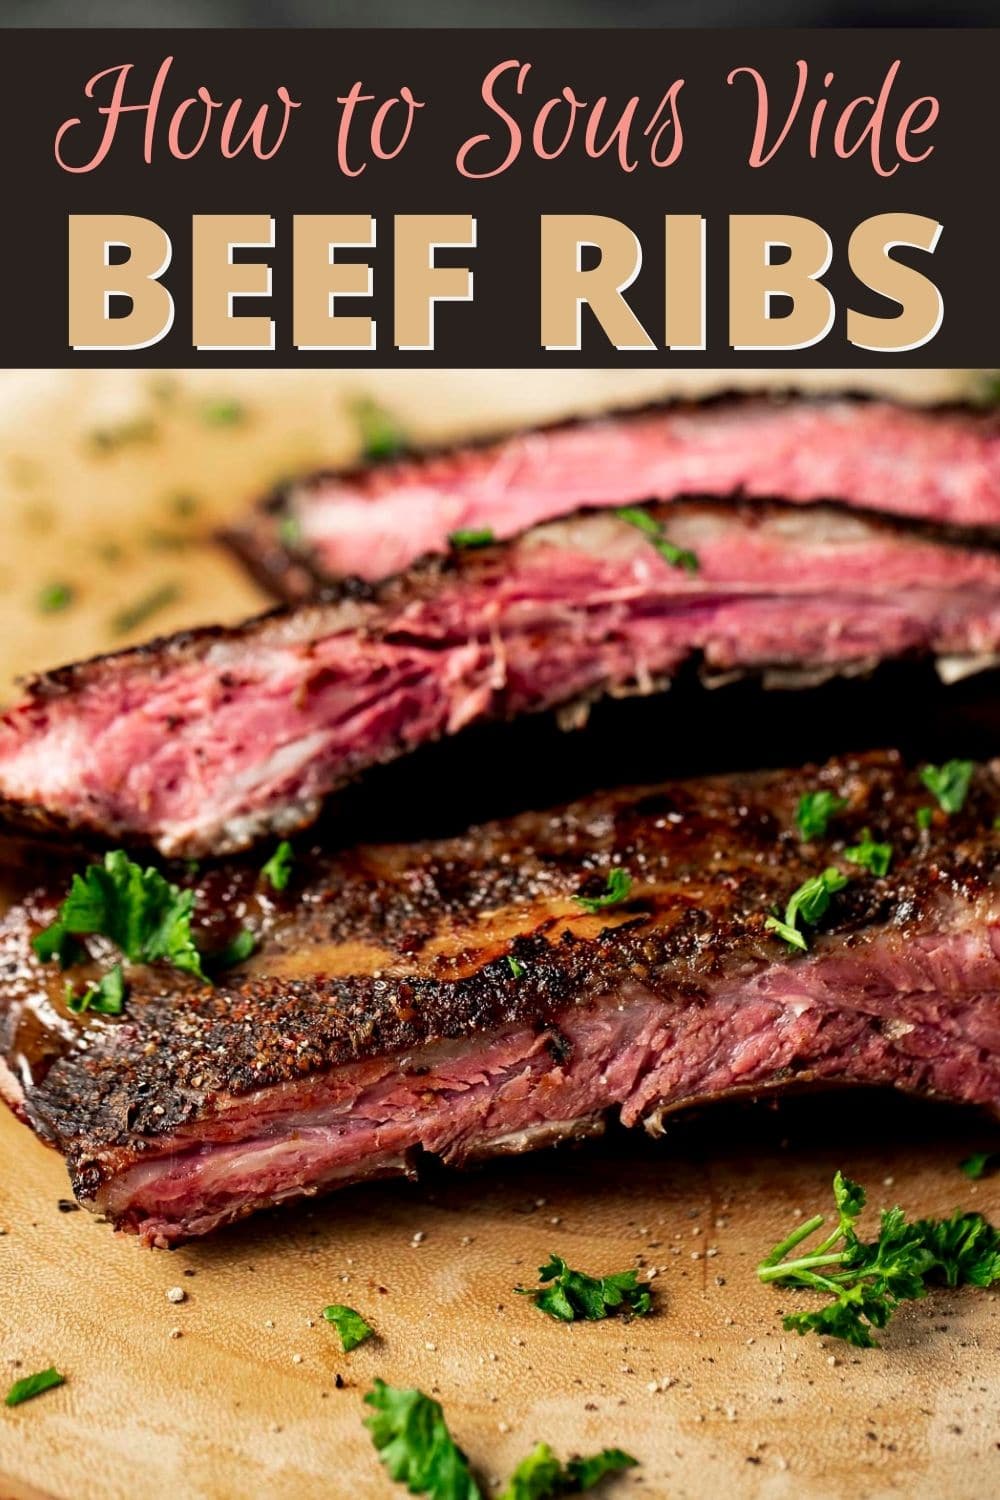
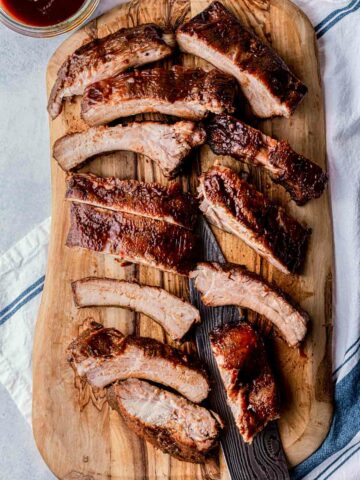
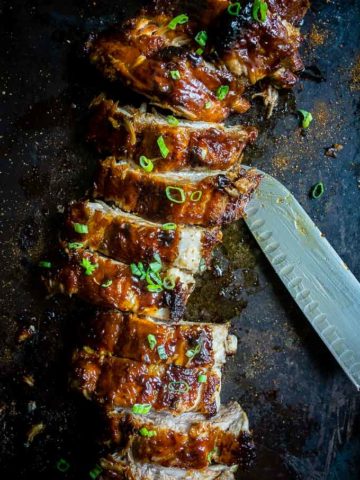
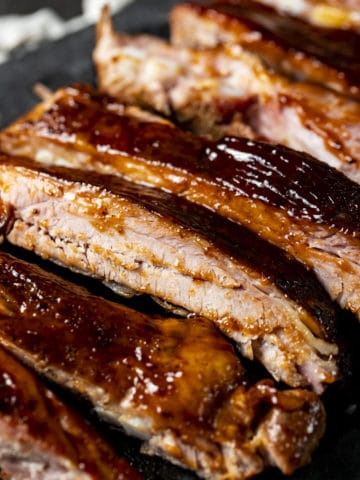
There’s nothing better than tender and juicy barbecued beef ribs, and this recipe for 24 hour sous vide beef ribs is going to make grilling ribs so much easier! You need just two ingredients and the sous vide method ensures your sous vide ribs are fall-off-the-bone delicious every time!
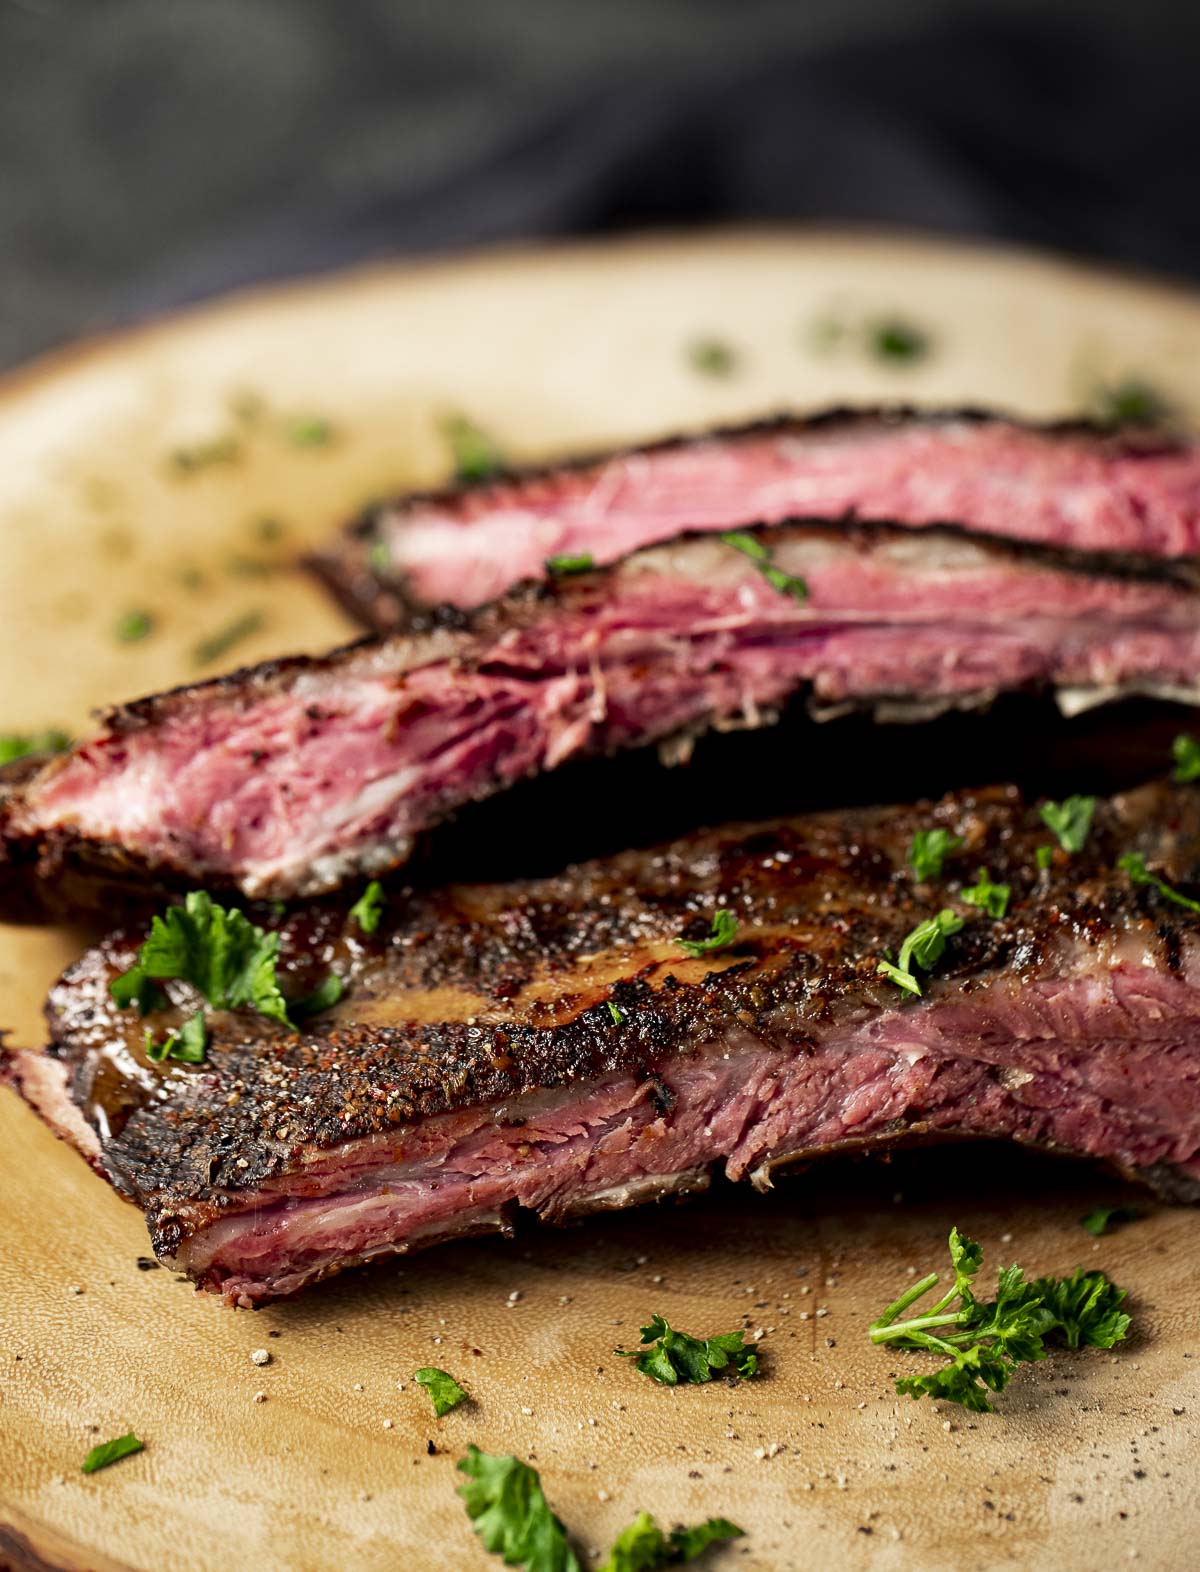
If your summer cookouts typically involve beef ribs, you’re going to love this simple recipe. The sous vide slowly cooks the ribs for 24-36 hours, making them melt-in-your-mouth delicious.
You just grill the ribs for a few minutes at the end to achieve that classic grilled flavor (or use your smoker if that's your thing). It’s that easy!
While it might seem like a big commitment of time (they take a long time to cook), this recipe involves very little active time (like these sous vide beef cheeks or sous vide boneless short ribs). Your sous vide will do most of the work for you and you'll get ultra tender ribs out of it!
Jump to:
More Rib Recipes
And if you're into sous vide, head over and browse through all the sous vide recipes.
But if you like to plan in advance and appreciate hands off cooking, you’ll want to try beef ribs sous vide style to get the most tender meat!
Want to Save This Recipe?
Enter your email & I'll send it to your inbox. Plus, get great new recipes from me every week!
By submitting this form, you consent to receive emails from Went Here 8 This.
Why this recipe works
- There’s no need to worry about overcooked and dry ribs when you cook them in the sous vide. These sous vide beef back ribs ribs are cooked in a water bath for 24-36 hours, and they get more tender and juicy as they cook.
- This recipe is super simple to make. You only need 2 ingredients - beef ribs and seasoning - and it’s pretty hands off in the sous vide. You just need to grill the ribs for a few minutes at the end to get that BBQ flavor!
- The long cook time for this recipe makes these ribs ideal for entertaining. You can get the ribs cooking a day in advance, which gives you plenty of time to whip up some fabulous BBQ side dishes!
Ingredients
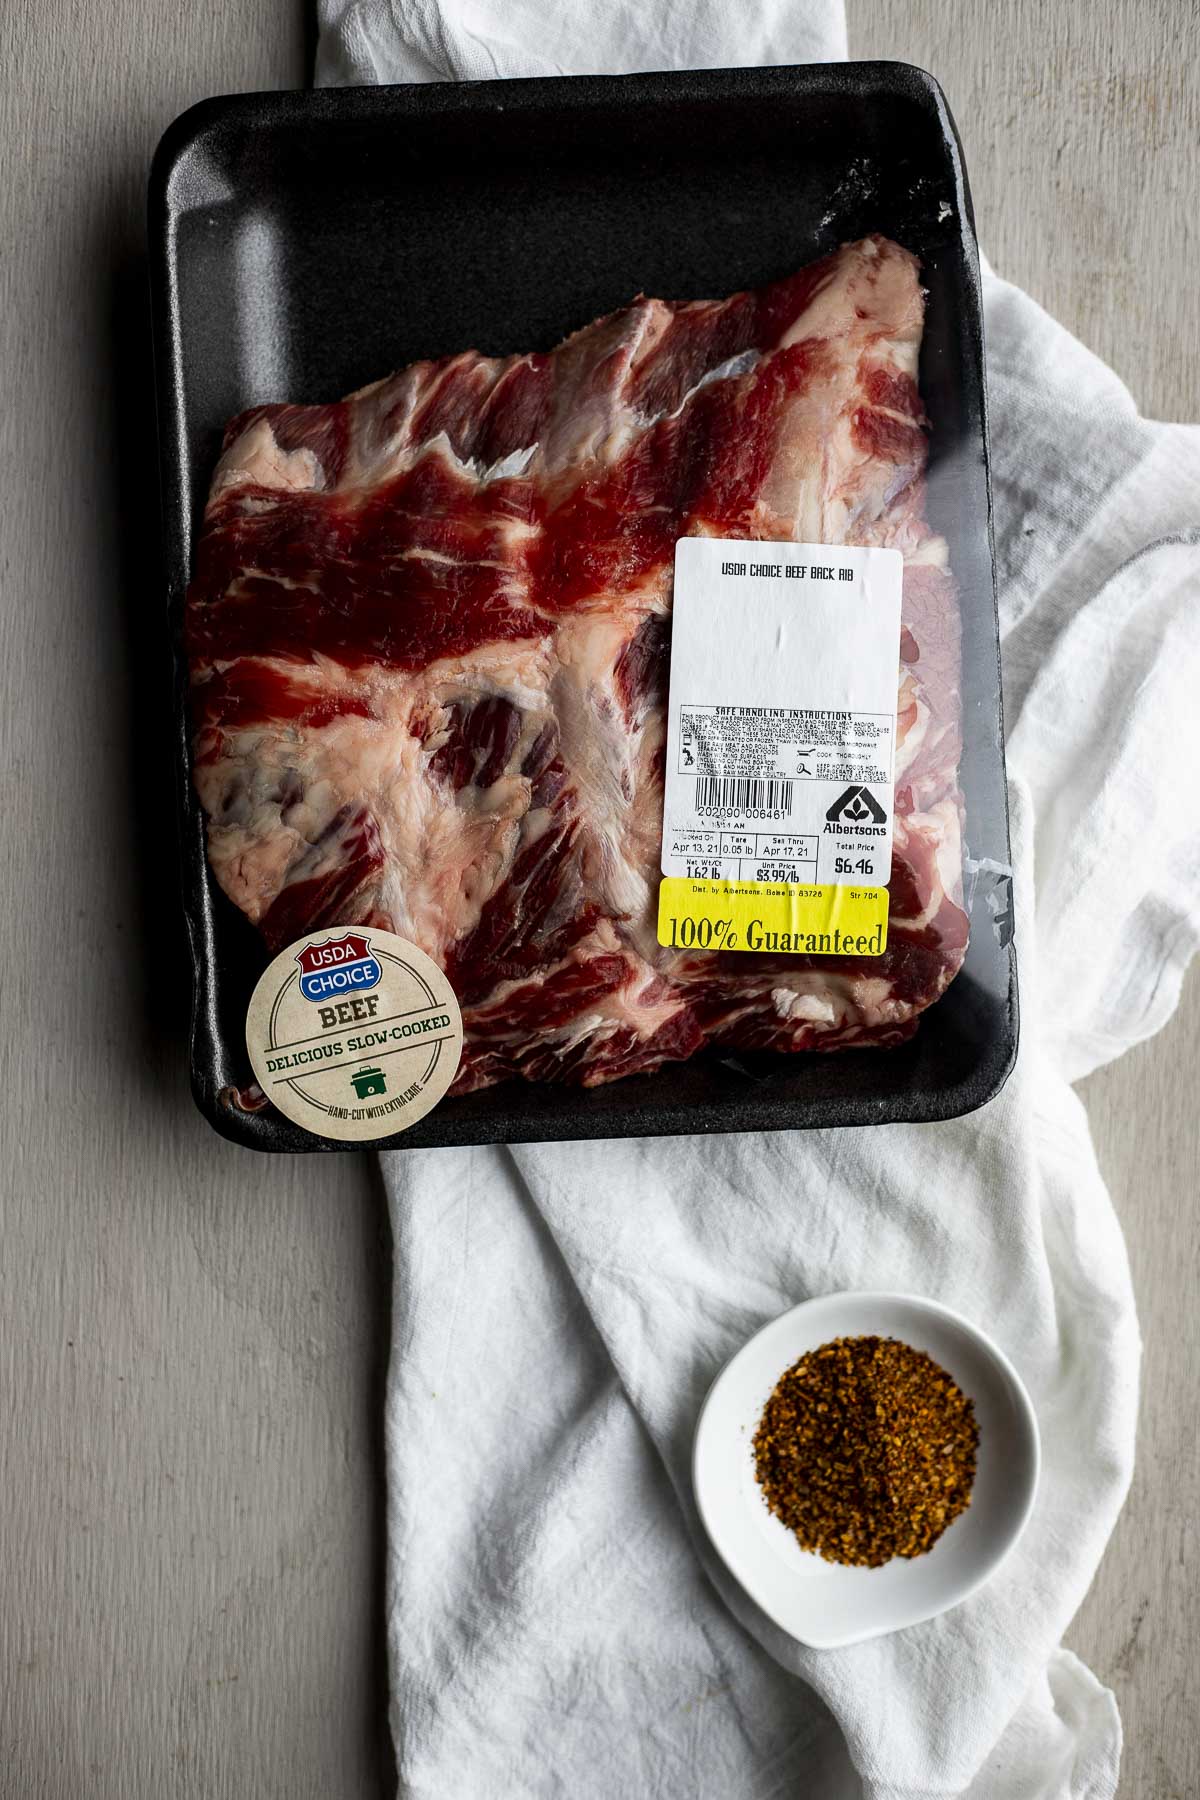
The full ingredients list and amounts is included in the recipe card at the bottom of the post.
You’ll need 1 ½ - 3 pounds of beef back ribs for this recipe. While I love cooking sous vide beef short ribs, or boneless short ribs, you’re going to want to make sure you have beef back ribs for this recipe. They have a little less meat, but they give you the best results!
You’re going to season the ribs with 2 - 4 tablespoons of Mesquite seasoning. The amount you use depends on how many pounds of ribs you are cooking.
We love Mesquite seasoning with beef, but you can use any kind of spice rub you have on hand. To give it a smoky flavor, add a teaspoon of liquid smoke to the bag if you're not using Mesquite seasoning. Also check out these substitutes for liquid smoke.
You can also add a touch of brown sugar to your rub if you want to add a little sweetness to your ribs.
Step by step instructions
Step 1: Use a sous vide cooker to heat a sous vide bath to 135°F degrees. I've included some other optional times and temperature for sous vide beef ribs below.
| Temperature | Time | Results |
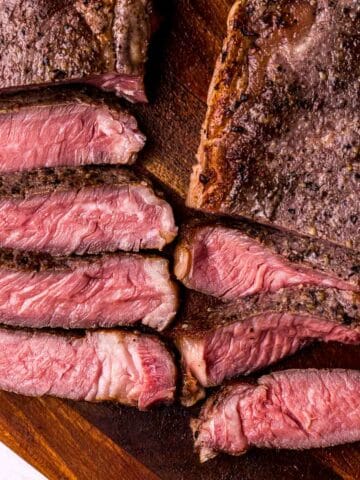
| 131°F - 135°F (55.5°C - 57°C) | 24-36 hours | Medium rare, tender and juicy |
| 136°F - 140°F (58°C - 60°C) | 24-36 hours | Medium, tender, less juicy |
| 141°F - 155°F (60.5°C - 68°C) | 36-48 hours | Fall apart, ultra tender, less juicy |
| 156°F - 175°F (60°C - 79°C) | 12-24 hours | Shreddable |
Step 2: Use a knife to remove any membrane (or silver skin) from the back of the ribs. (Check out this video on how to remove the rib membrane).
Step 3: Rub the seasoning generously over the ribs on both sides.
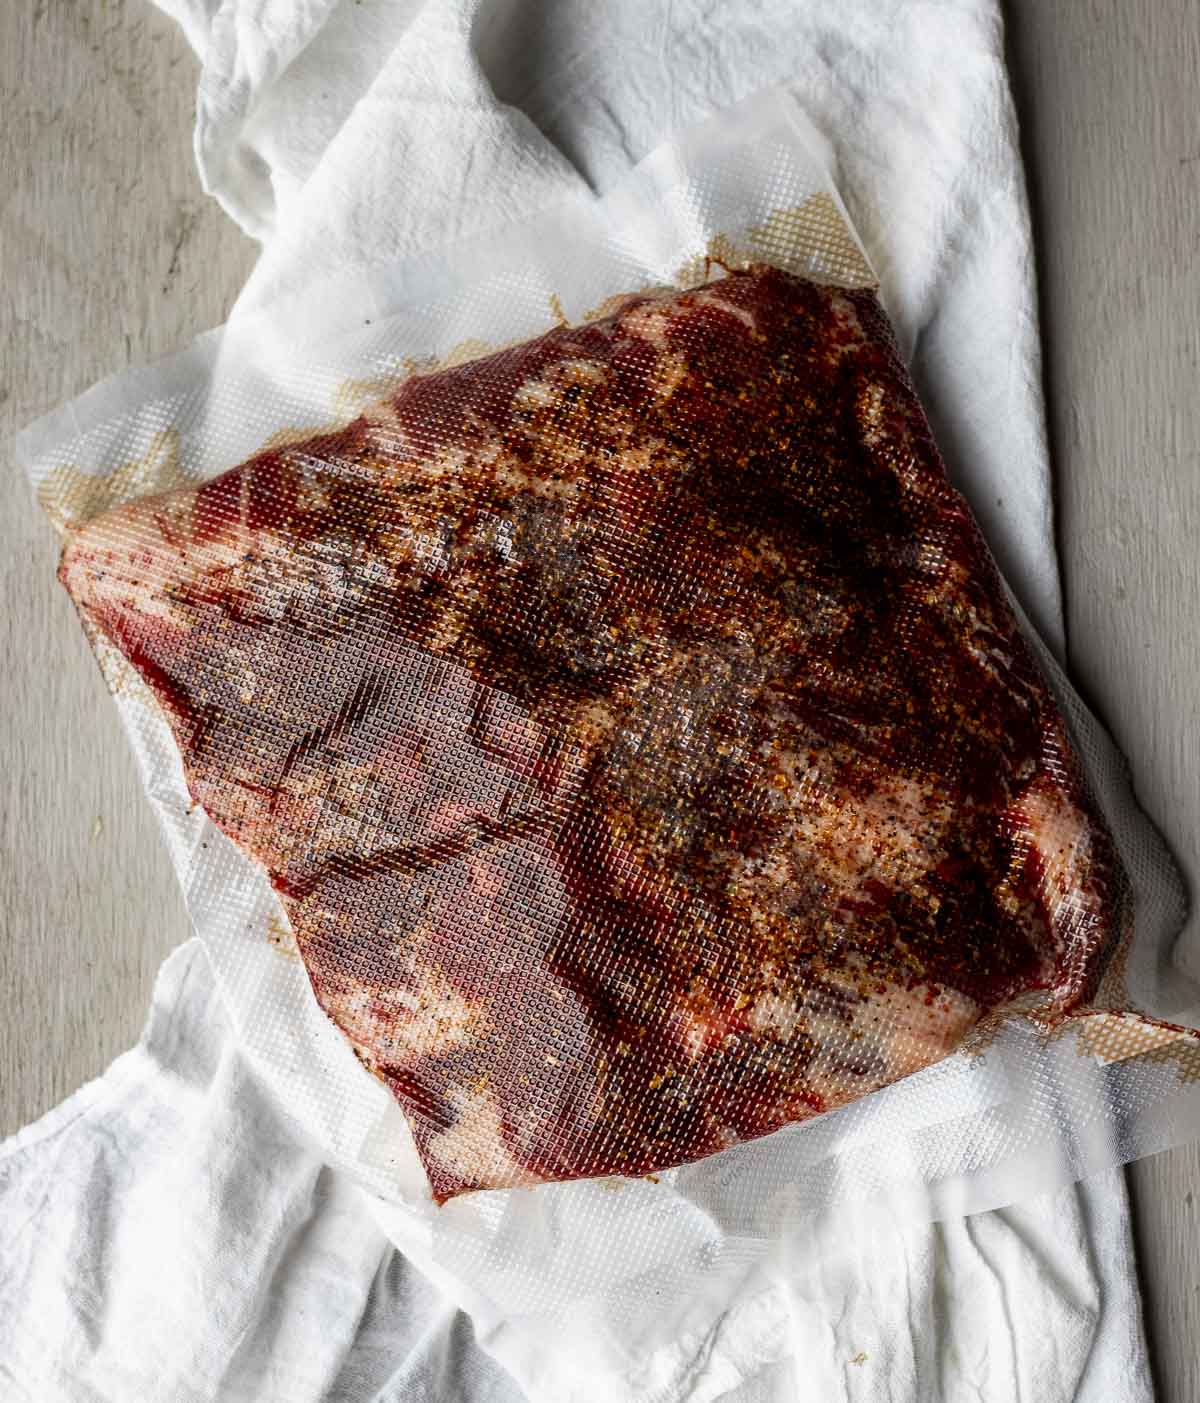
Step 4: Place in a vacuum seal bag or a heavy duty ziplock bag. Use a vacuum sealer or the water displacement method to remove the air from the bag.
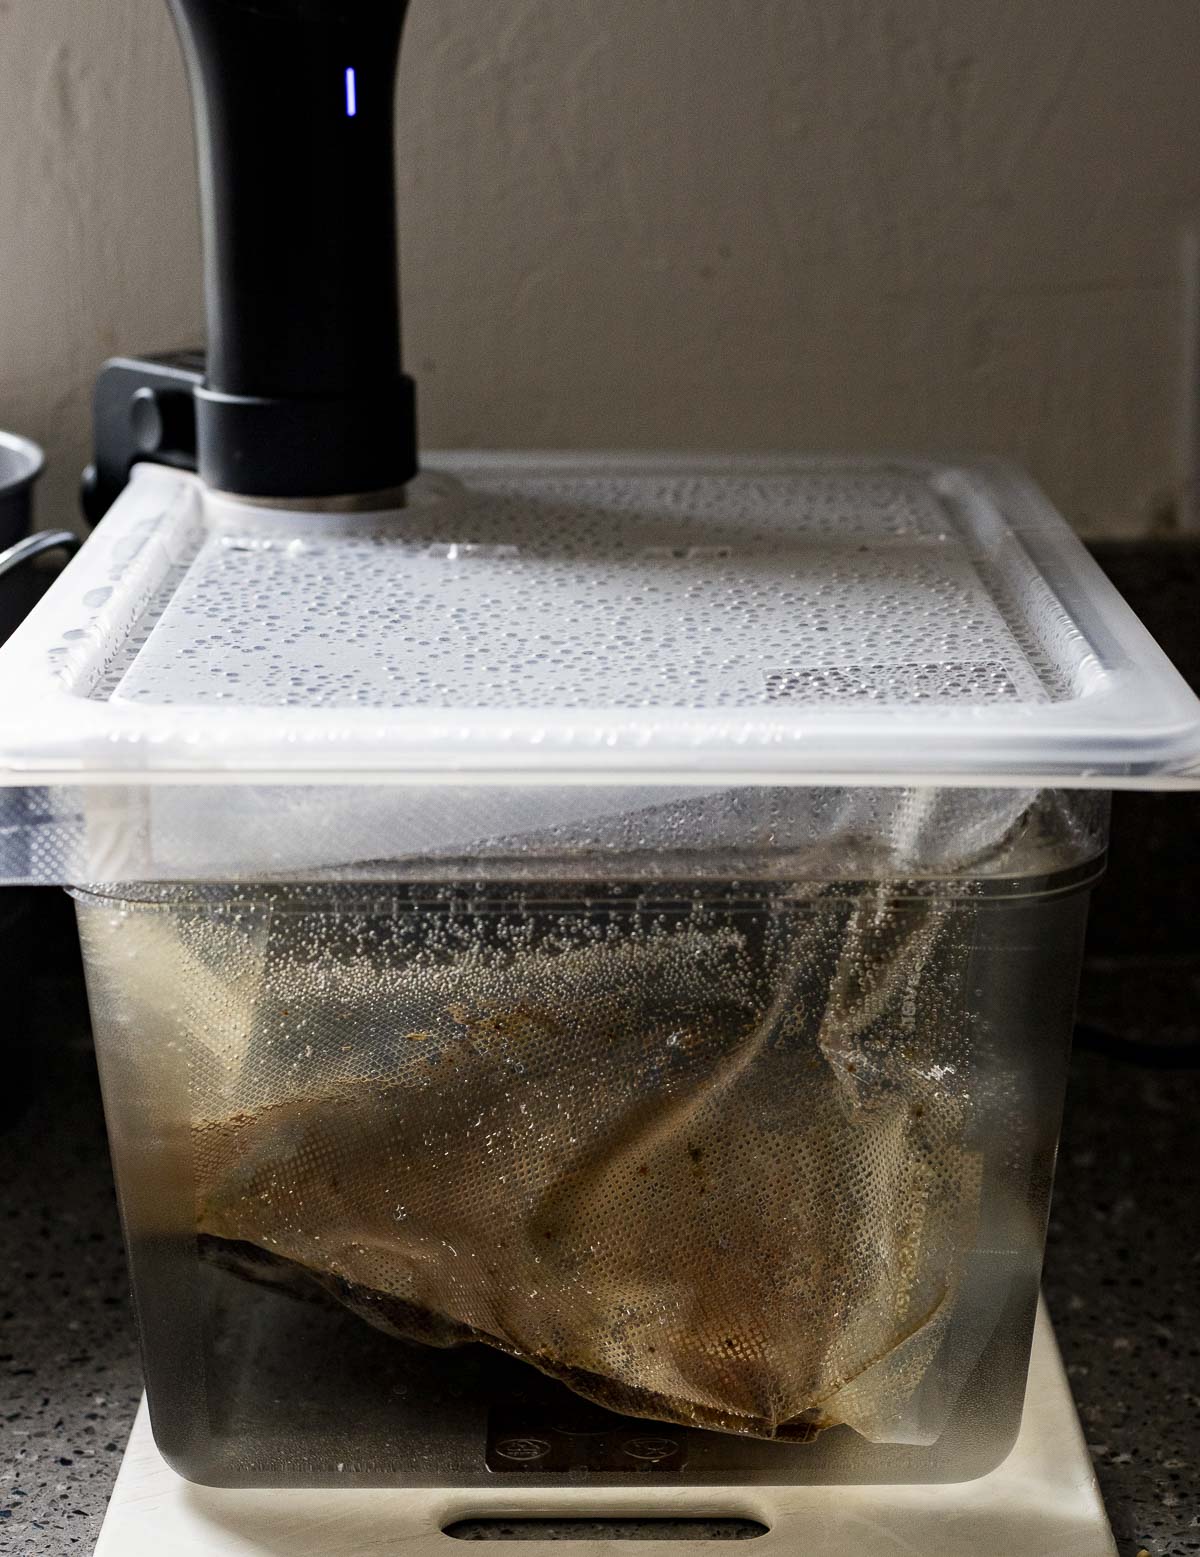
Step 5: Cook for 24-36 hours (the longer you cook, the more tender they will be). Check the time and temp chart above if you choose to cook at a different temperature!
Step 6: Remove from the water bath and take the ribs out of the bag. Pat the ribs very dry with paper towels. The drier they are, the easier they will caramelize on the grill.

Step 7: Grill on high heat or broil in the oven to crisp the outside of the ribs. (I recommend grilling for the best flavor).
Slice between the bones and serve.
Expert tips
- Removing the air from the sous vide bag is an important step to ensure the ribs are cooked evenly on all sides.
- Since we’re cooking these ribs for up to 36 hours, you'll need to ensure the water level stays high enough to prevent your sous vide machine from turning off mid-cook.
- Don’t skip the step of removing the membrane (or silver skin) from the back of the ribs. The texture is tough and chewy and will take away from the tenderness of the beef. Use a sharp knife to slide it under the silver skin and and pull it back with your hands, gently peeling it off the back of the ribs.
- The longer you cook the ribs, the more tender they will get.
- Make sure your grill is heated to a high temperature so the ribs get crispy on the outside quickly.
- Don't grill or broil the ribs for more than 1-2 minutes per side as they will overcook and dry out.
- To enhance the BBQ flavor of these ribs, you can slather on some homemade tangy barbecue sauce before you grill or broil them!
- You can make sous vide frozen beef ribs by adding an extra 45 minutes to the cook time.

Frequently asked questions
Back ribs (also called beef spare ribs) are from the rib section of the cow. They’re not as meaty as short ribs but the meat is tender.
Short ribs are from the plate section of the cow and are shorter than beef back ribs. While they're meatier, they can be tough with a lot of connective tissue.
Yes, you can sous vide frozen beef ribs. Since the ribs are in the water bath for 24-36 hours, you can add an extra 45 minutes, but they will likely be perfect without any added time as well.
To get that classic grilled flavor, I highly recommend grilling the ribs after they come out of the water bath. This will only take 1-2 minutes per side as you don’t want to overcook the ribs or dry them out.
You can cook the ribs in advance and store them in the fridge.
To do this, follow the recipe instructions up to the point of removing the ribs from the water bath. Instead of opening the bag, place the ribs in an ice bath to let the temperature come down quickly. Keep the ribs in the vacuum sealed bag and transfer to the fridge to store for up to 5 days.
To reheat, place the bag of ribs in a 135°F degree water bath for about 10-15 minutes, or until warmed through. Grill and serve.
After the ice bath, transfer the vacuum sealed bag of ribs to the freezer and store for up to 3 months. To thaw, leave the bag of ribs in the fridge overnight and then heat it in a 135°F degree water bath for about 10-15 minutes, or until the ribs are warmed. Grill and serve.
Make it a meal
There are so many delicious grilling sides that we love to pair with these ribs. Here are a few that are sure to be crowd pleasers:
- While your sous vide is hard at work, put your air fryer to work with these air fryer biscuits or this air fryer cornbread. Both are amazing sides for these juicy beef ribs!
- Who doesn’t love a pasta salad with a BBQ? This Mexican street corn pasta salad is a great way to change things up!
- Take advantage of summer produce and make this sous vide corn on the cob or grilled yellow squash to go with your ribs.
More sous vide beef recipes
If you love this recipe, please leave a star rating and a comment below and let us know your favorite thing about it. We'd also love to connect on Instagram! Follow us at @went_here_8_this for awesome recipes and all sorts of fun food stuff 🙂
Recipe
Sous Vide Beef Ribs
Ingredients
- 2-4 pounds beef back ribs
- 2 - 4 tablespoons Mesquite seasoning or another steak seasoning
Instructions
- Heat a sous vide water bath to 135°F degrees. There are additional time and temperature options in the post above as well of you prefer a more well done beef rib.
- Use a knife to remove any membrane (or silver skin) from the back of the ribs.
- Rub the seasoning generously over the ribs on both sides.
- Place in a vacuum seal bag or a heavy duty ziplock bag.
- Use a vacuum sealer or the water displacement method (see above) to remove the air from the bag.
- Cook for 24-36 hours (the longer you cook, the more tender they will be). Check the time and temp chart above if you choose to cook at a different temperature!
- Remove from the water bath and take the ribs out of the bag.
- Pat the ribs dry with some paper towels.
- Grill on high heat or broil in the oven to crisp the outside of the ribs. (I recommend grilling for the best flavor).
- Slice between the bones and serve.
Expert Tips:
-
- Removing the air from the sous vide bag is an important step to ensure the ribs are cooked evenly on all sides.
-
- Since we’re cooking these ribs for up to 36 hours, you'll need to ensure the water level stays high enough to prevent your sous vide machine from turning off mid-cook.
-
- Don’t skip the step of removing the membrane (or silver skin) from the back of the ribs. The texture is tough and chewy and will take away from the tenderness of the beef. Use a sharp knife to slide it under the silver skin and and pull it back with your hands, gently peeling it off the back of the ribs.
-
- You can use whatever spice rub you'd like if you don't have mesquite seasoning.
-
- To give it a smoky flavor, add a teaspoon of liquid smoke to the bag if you're not using Mesquite seasoning.
-
- The longer you cook the ribs, the more tender they will get.
-
- Make sure your grill is heated to a high temperature so the ribs get crispy on the outside quickly.
-
- Don't grill or broil the ribs for more than 1-2 minutes per side as they will overcook and dry out.
-
- To enhance the BBQ flavor of these ribs, you can slather on some homemade barbecue sauce before you grill or broil them!
-
- You can make sous vide frozen beef ribs by adding an extra 45 minutes to the cook time.
Nutrition






Toni
This quickly became a favorite at my house! It is really good!
Danielle
Thanks!
Gina
These are so tender and delicious! Such a great method for enjoying ribs don't think I'll do them any other way now.
Danielle
Agreed! Thanks 🙂
Lima Ekram
I have never done a sous vide before and this looks absolutely delicious! I did not realize you had to remove the membrane from the ribs - great tip and details - will let you know how it goes!
Danielle
Removing the membrane makes them so much easier to eat!
Beth
Yummy! This looks fantastic and so tender! My family is going to love this recipe especially my hubby! Excited to make this for dinner soon! Sounds so tasty!
Danielle
Hope you guys love it!
Bintu | Recipes From A Pantry
These ribs sound absolutely amazing! So tender and juicy. My family will love these.
Danielle
Thanks!