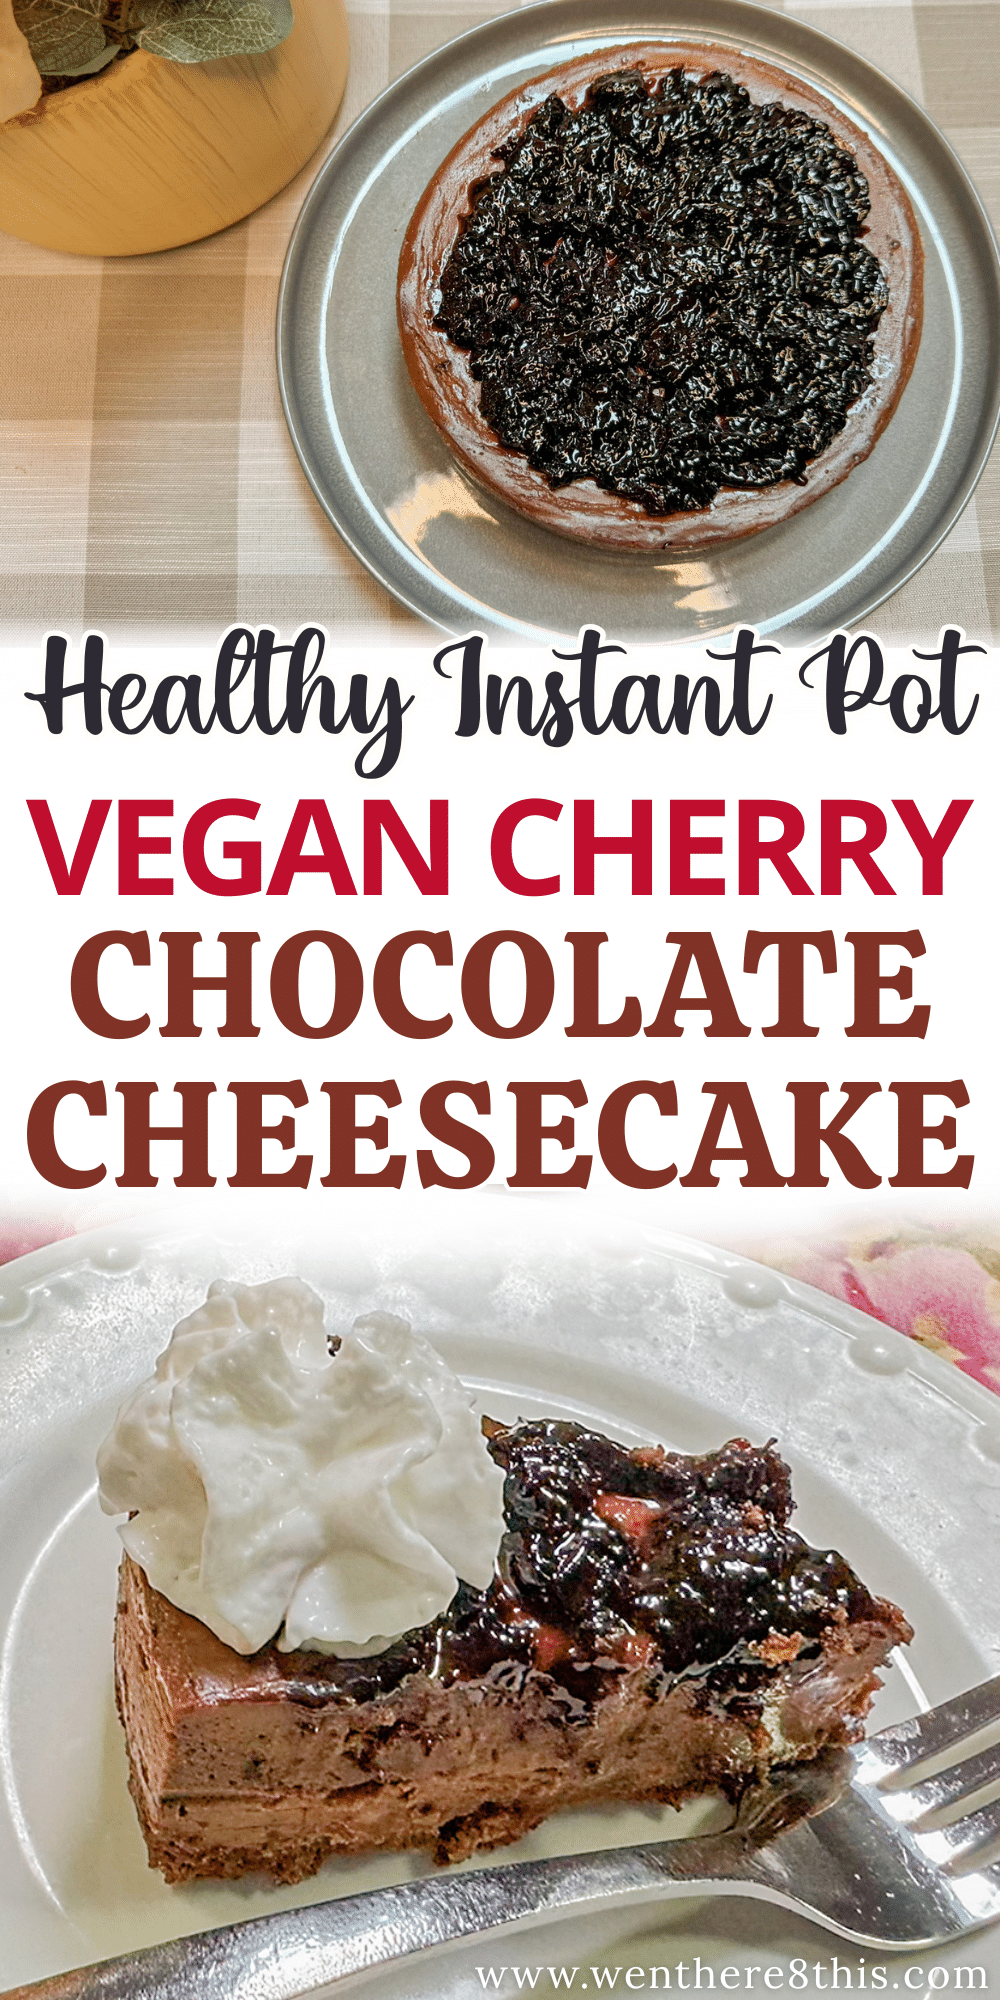
Cheesecake in the Instant Pot? Oh yes, friends, it’s happening. And not just any cheesecake—we’re talking rich, chocolatey, creamy, cherry-topped, and totally vegan. Basically, this Instant Pot Vegan Cherry Chocolate Cheesecake is your new dessert BFF.
If you’ve ever wanted to whip up a show-stopping dessert without turning your oven into a sauna, this recipe is here to save the day. It’s decadent, silky, and layered with flavor—plus it’s secretly plant-based, which means everyone at the table can enjoy a slice (or two… no judgment).

Why This Recipe Works
- Instant Pot Magic: No need to babysit the oven or stress about cracks—the Instant Pot gives you perfectly set cheesecake every time.
- Decadent yet Vegan: Cashews and coconut milk team up to mimic that luscious cheesecake creaminess.
- Chocolate + Cherries = Soulmates: That rich cocoa base with tart, juicy cherries on top? Dessert perfection.
- Stress-Free Impress: Serve this at a dinner party and watch everyone’s jaws drop when you say, “Oh, I made it in the Instant Pot.”
Jump to:
Want to Save This Recipe?
Enter your email & I'll send it to your inbox. Plus, get great new recipes from me every week!
By submitting this form, you consent to receive emails from Went Here 8 This.
What is My Take on Instant Pot Vegan Cherry Chocolate Cheesecake
Traditional cheesecake is dreamy, but sometimes heavy and, let’s be real, a bit fussy. My take? Keep it decadent but make it accessible and plant-based. The Instant Pot makes it practically foolproof, and the vegan twist keeps it lighter without sacrificing indulgence. Think: all the flavor, way less fuss.
Make it a Meal
Going all-in for a dinner party? Pair this beauty with:
- Vietnamese Lemongrass Chicken if you’re mixing plant-based with meaty mains.
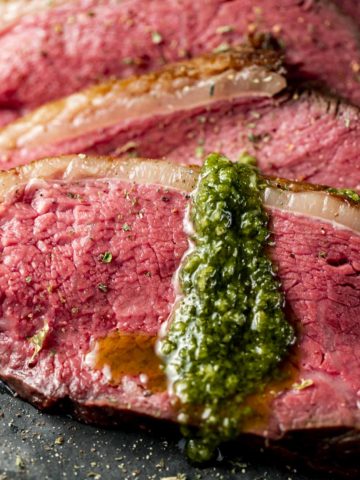
- Bo Luc Lac (Vietnamese Shaking Beef) for a rich and hearty main dish.
- Or keep it light and plant-powered with Crispy Honey Garlic Tofu.
Easy Side Dishes
Want to round out the spread? Try these easy sides before you dive into dessert:
Because yes, cheesecake counts as part of a balanced meal (I don’t make the rules).
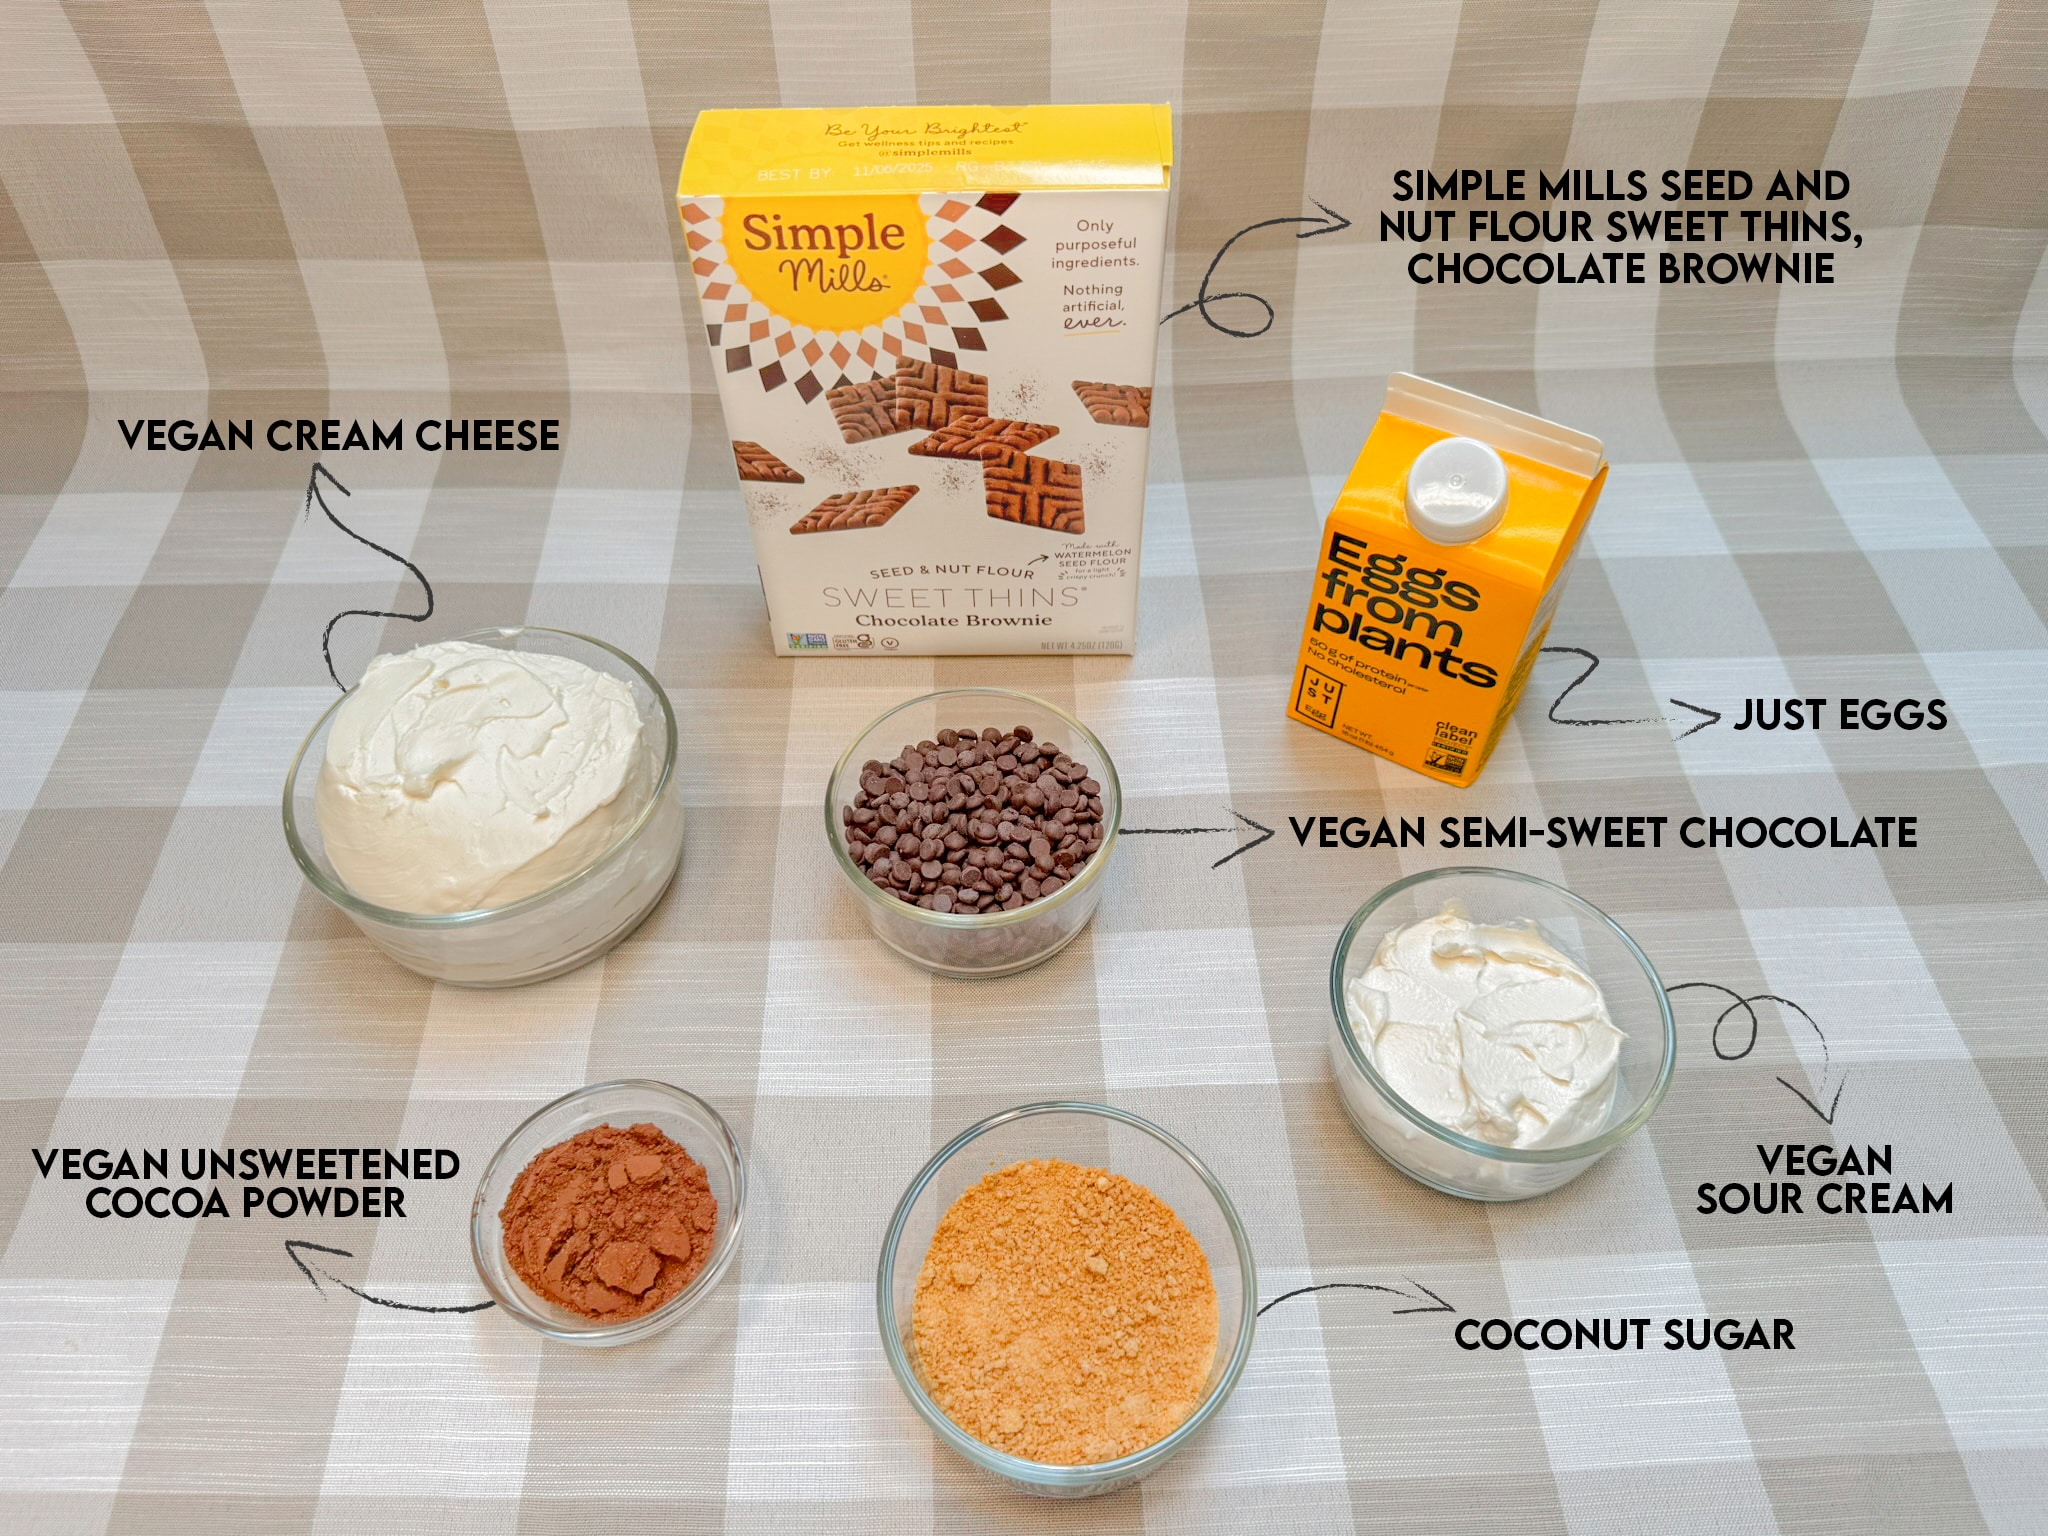
Ingredients
The full list of ingredients and amounts can be found in the recipe card at the bottom of the post.
Step By Step Instructions
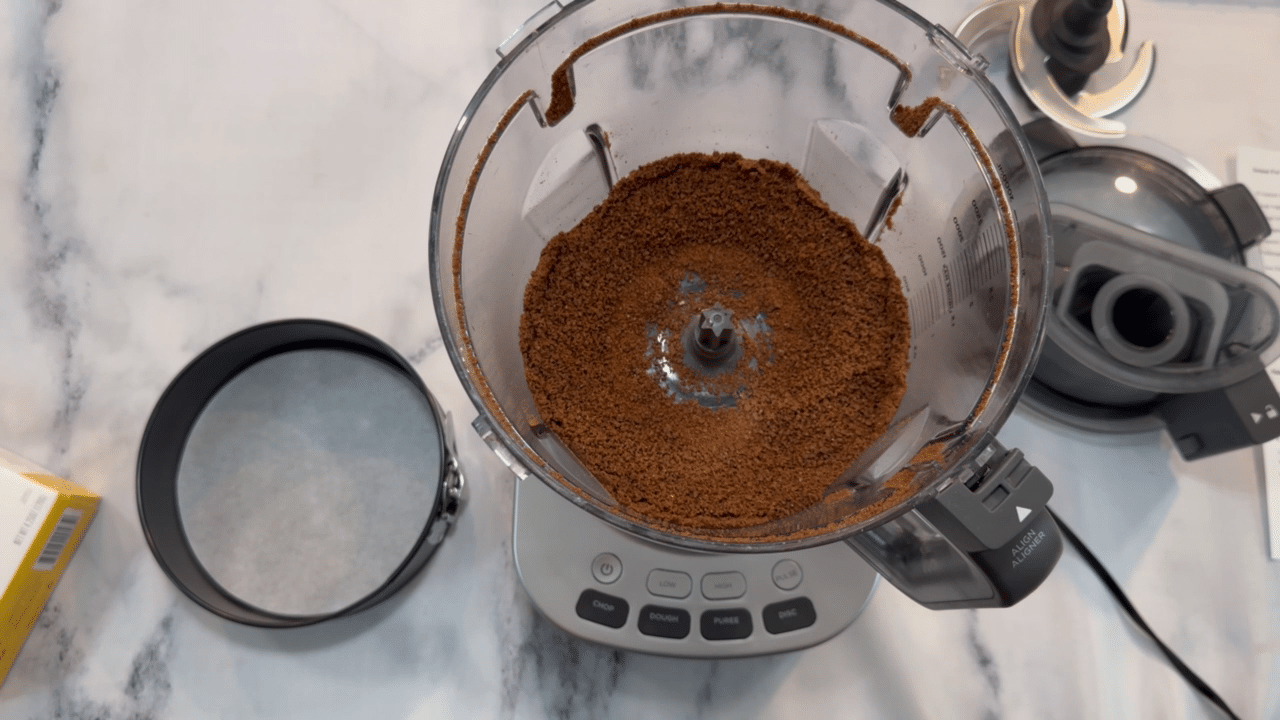
Step1: Prepare your crust by placing 4.25 oz Simple Mills Seed and Nut Flour Sweet Thins, Chocolate Brownie, into a food processor and blend until they form crumbs.
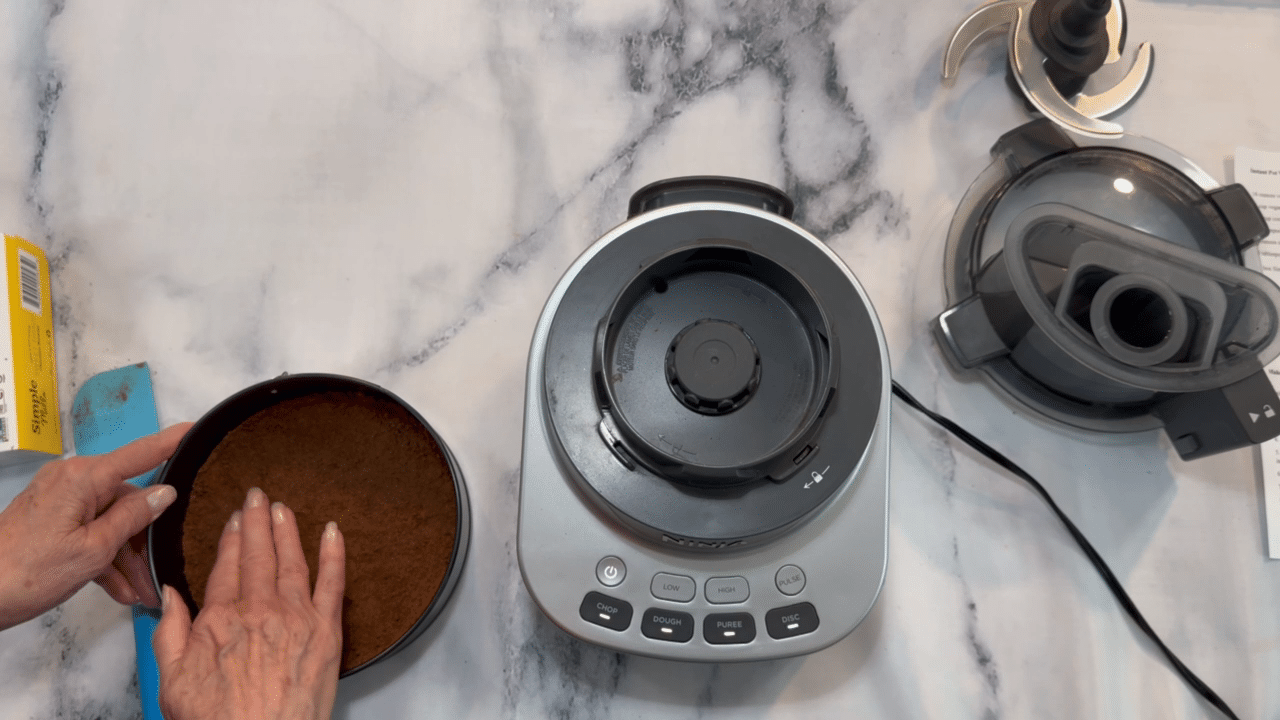
Step2: Place your crust in a 7” springform pan, and pack down with your hand or a measuring cup on the bottom and 1.5 inches up the sides.
Step3:Place the crust in the freezer until the filling is ready.
Step4: To make your filling, start with all room-temperature ingredients. Place the vegan cream cheese into a large mixing bowl and mix on high until light and fluffy.
Step5: Next, add coconut sugar and mix until just combined.
Step6: Next, add vegan sour cream and mix until just combined, being careful not to overmix. Be careful not to create air bubbles.
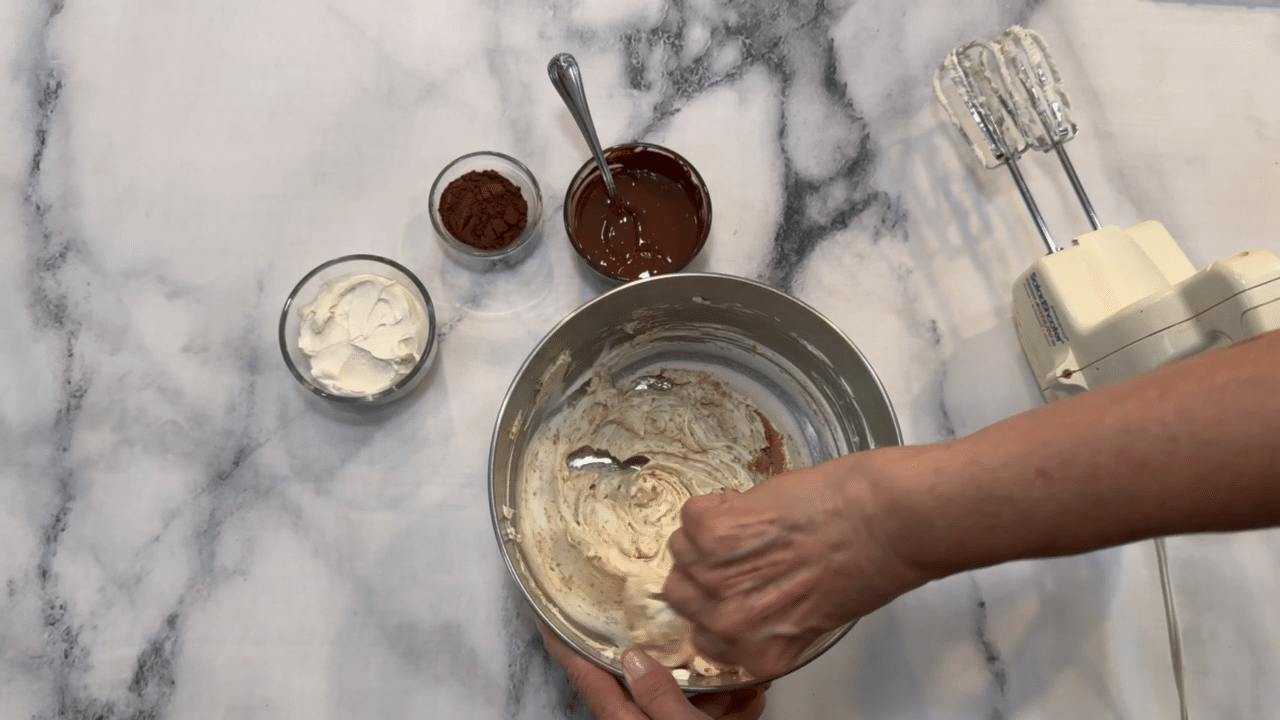
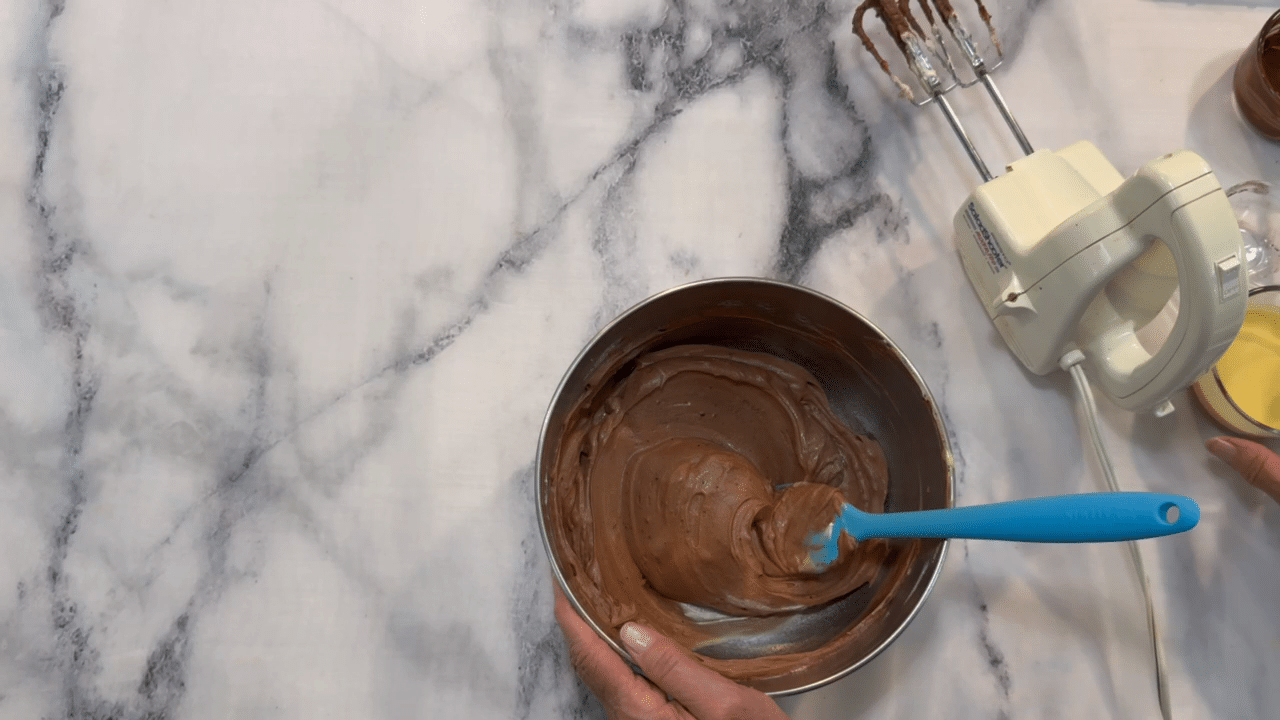
Step7: Add the melted chocolate, cocoa powder, and mix just until combined.
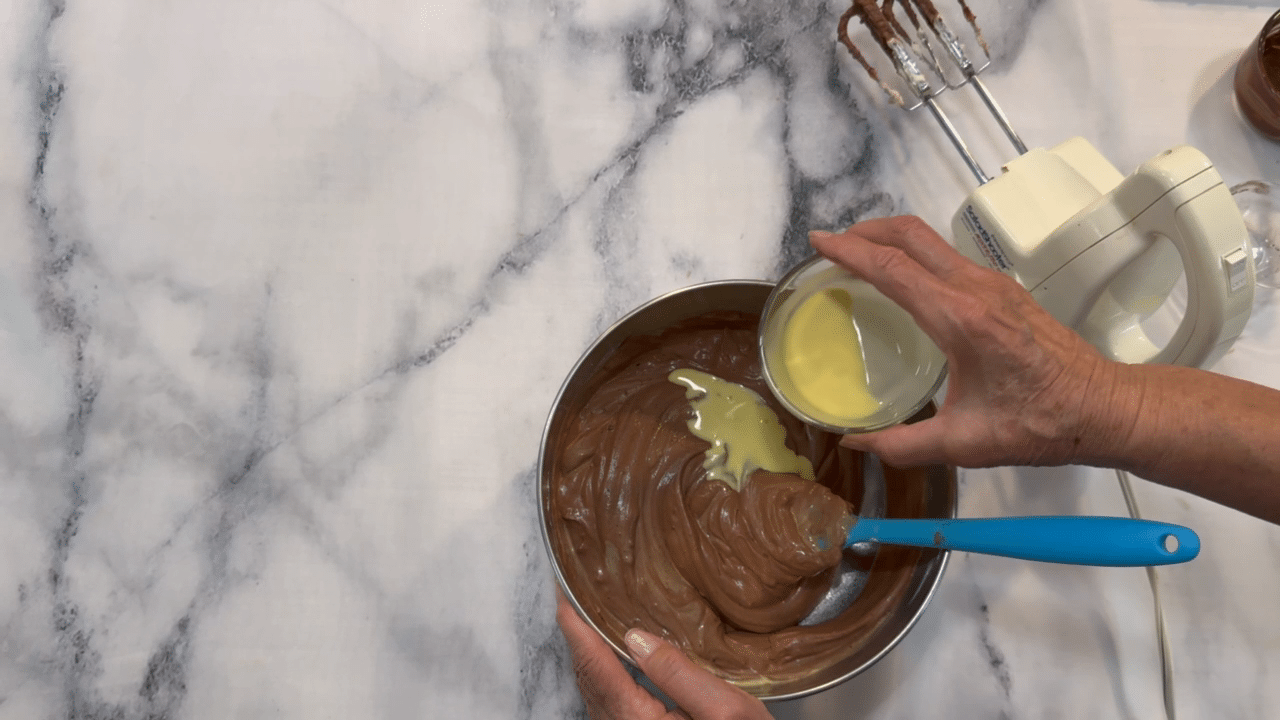
Step8: Next, fold in Just eggs. Add your Just eggs one tablespoon at a time and mix just enough so that they are fully incorporated.
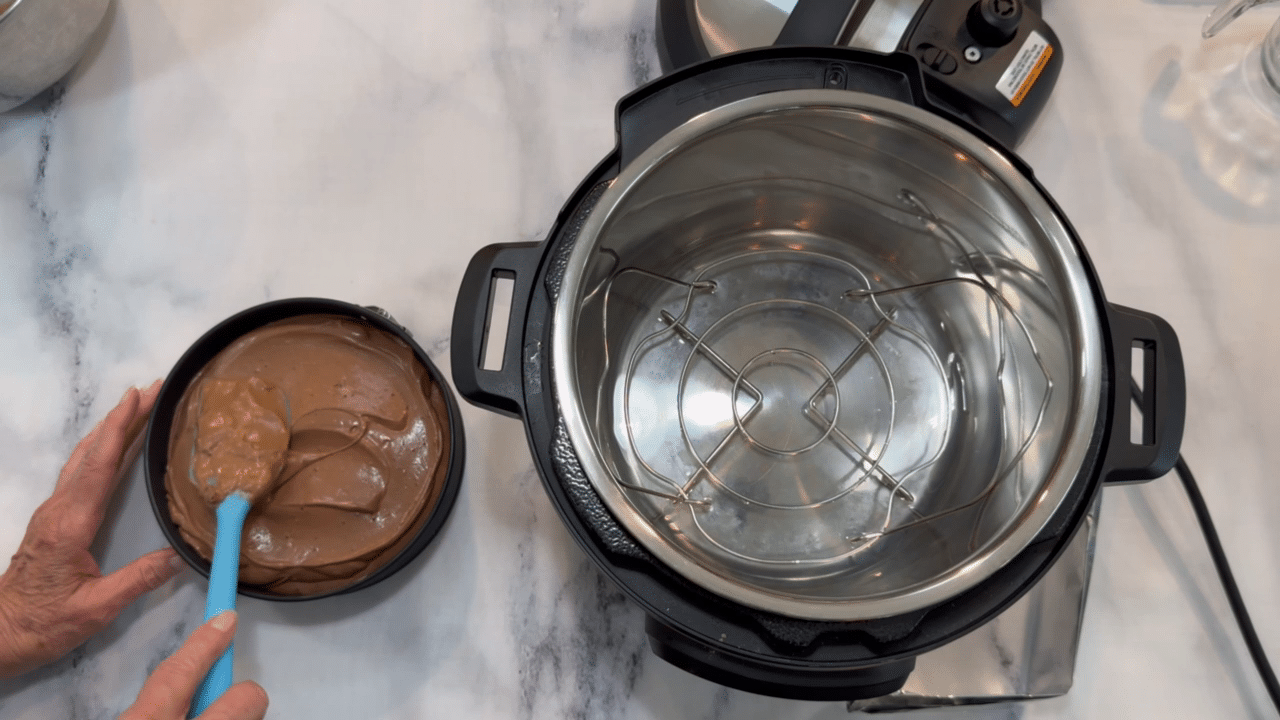
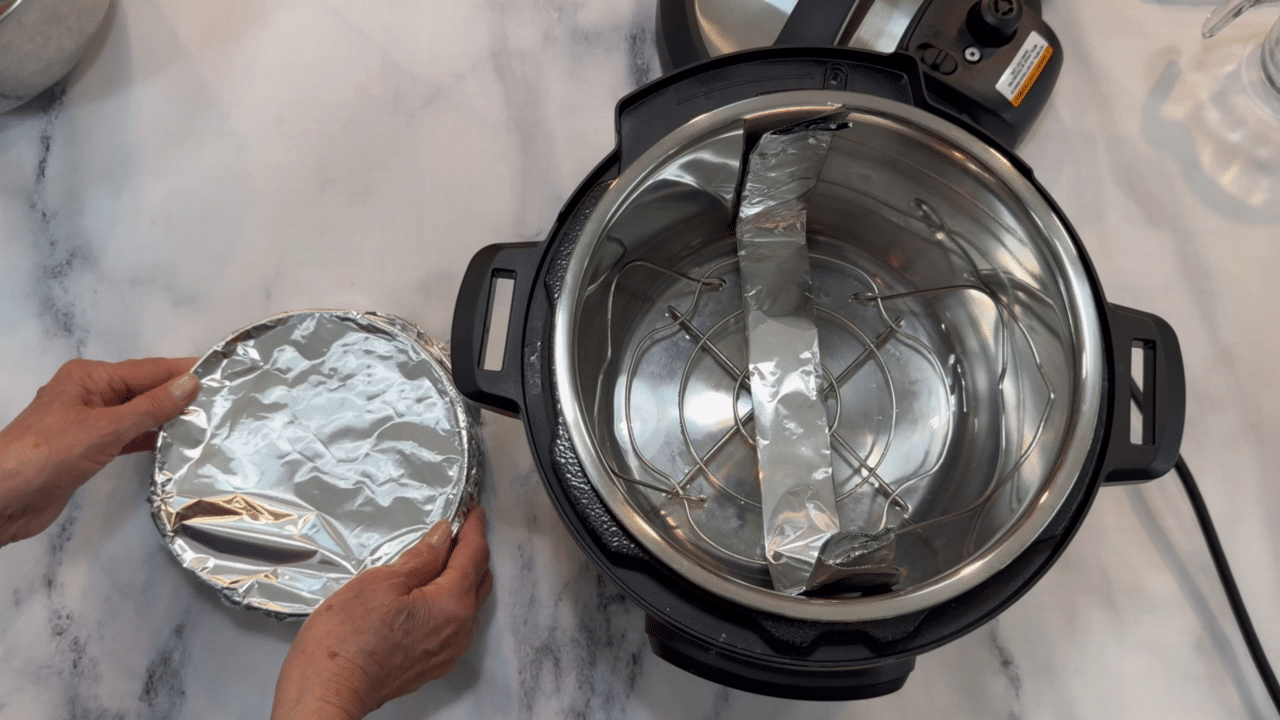
Step9: Pour your filling into your prepared crust and cover the top of your pan with tin foil.
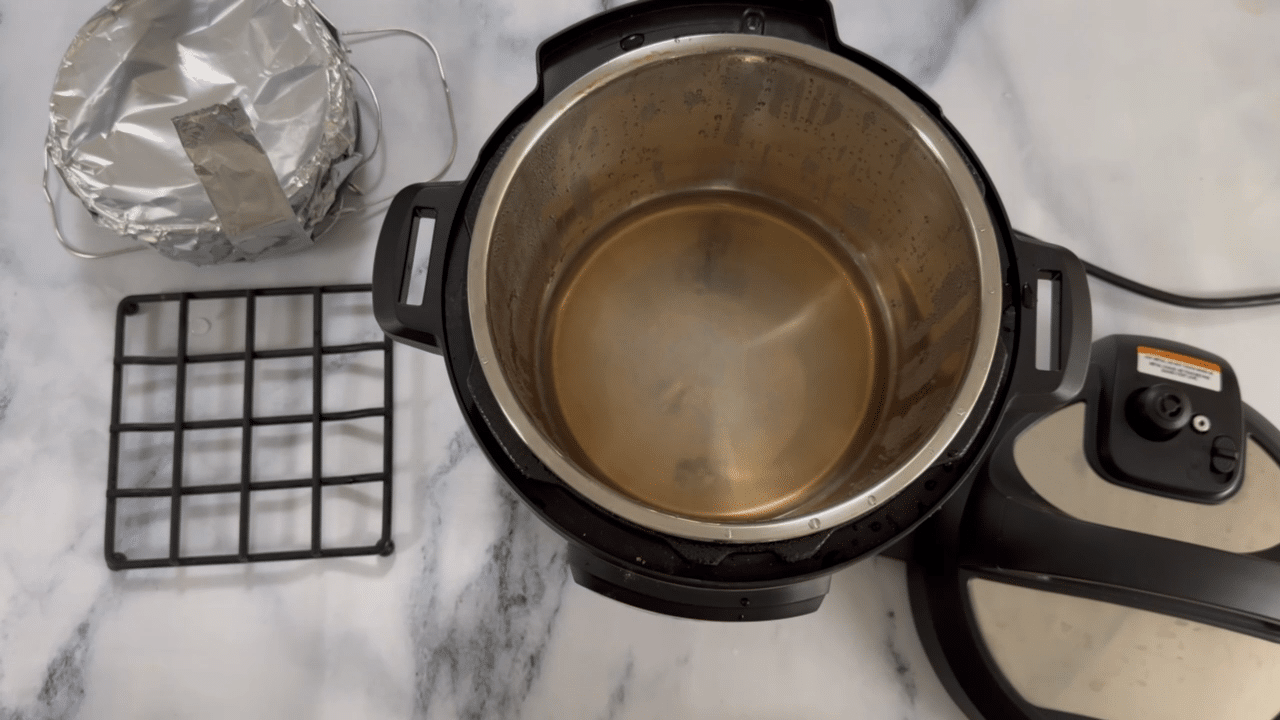
Step10: Prepare your Instant Pot with one cup of water and place a trivet in the bottom of your pot.
Step11: TIP: Make a sling by tearing a piece of aluminum foil, folding in half to make a long strip, and place that on your trivet. This will make it easier to remove your pan afterwards!
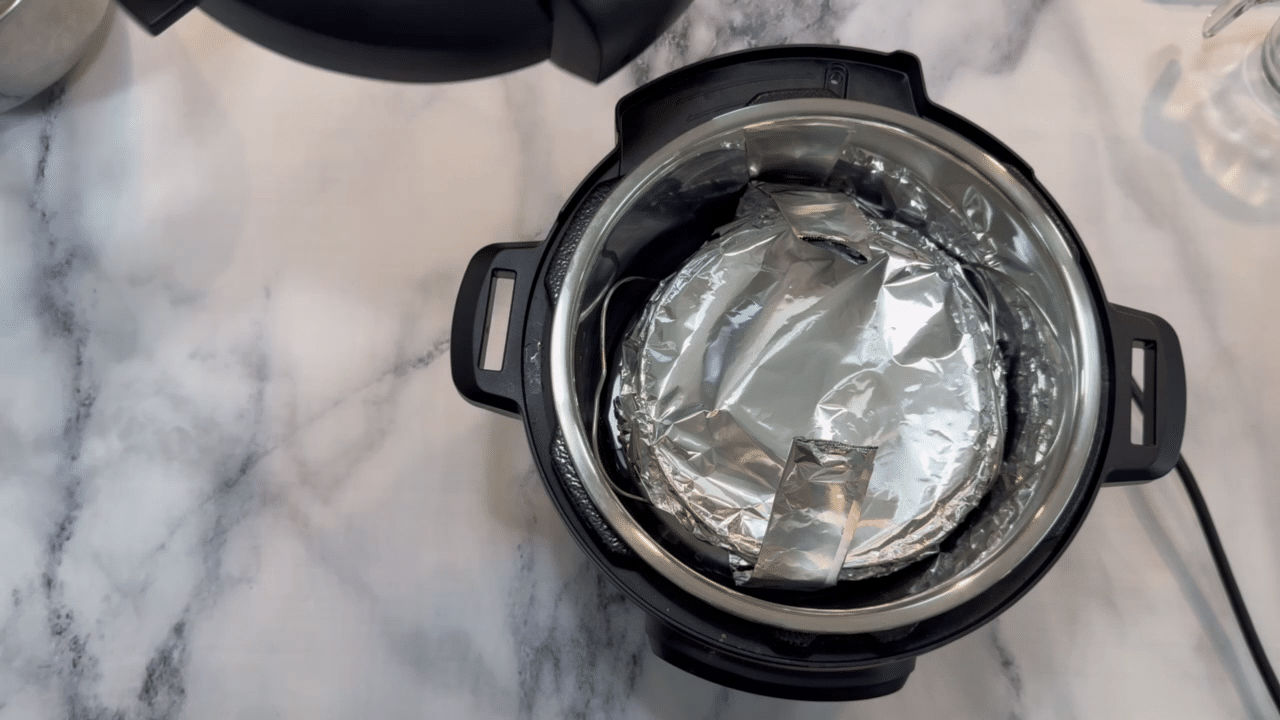
Step12: Place the spring pan in your pot and place the lid on. Make sure the pressure cooker is sealed.
Step13: Set on high pressure for 35 minutes.
Step14: After 35 minutes, allow for a natural release. Do not do a quick release.
Step15: When you can open the pot, remove your spring pan carefully and place it somewhere that it can cool and not be touched. You can remove foil from the top, but keep in mind the mixture will be jiggly.
Step16: After the cheesecake has cooled completely to room temperature, place it in the refrigerator overnight.
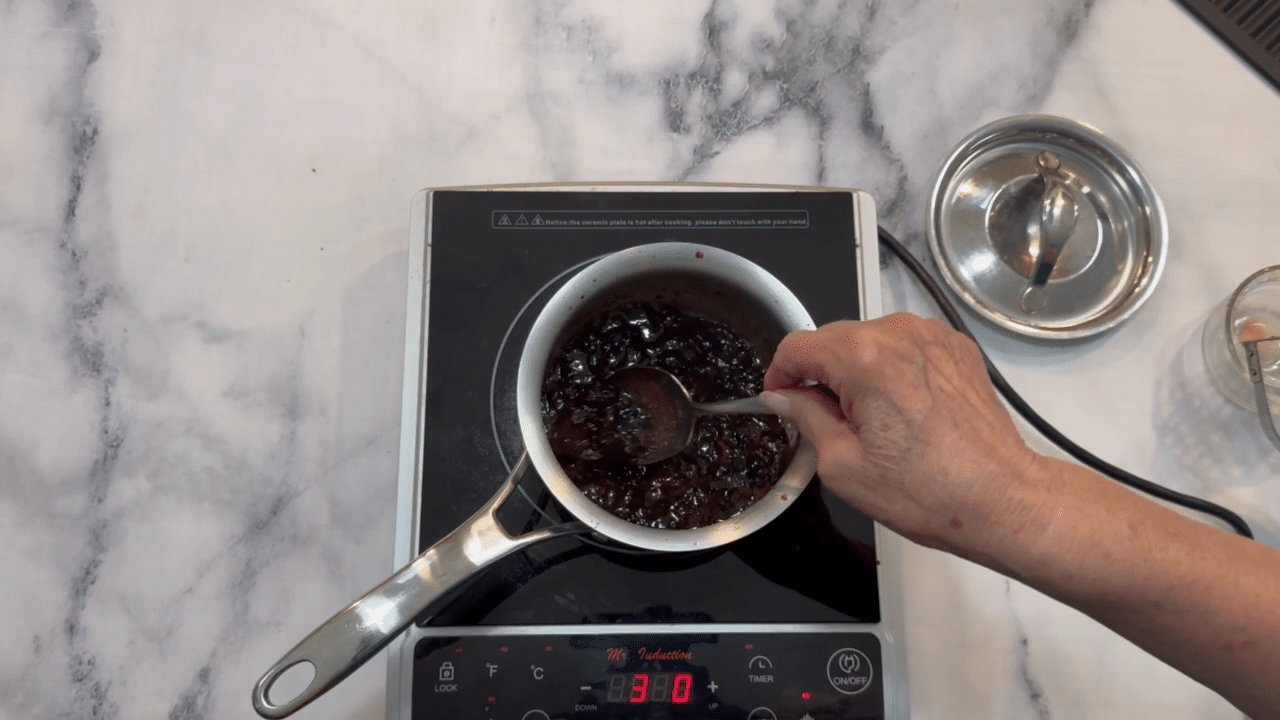
Step17: The next day, it’s time to make your compote. Prepare the Cherry Compote. Place the thawed cherries, sugar, and orange juice in a saucepan, and cook over medium-low heat for about 10 minutes, gently mashing the berries as the mixture cooks. Allow the mixture to simmer for an additional 10 minutes, until it is thick and Jammy.
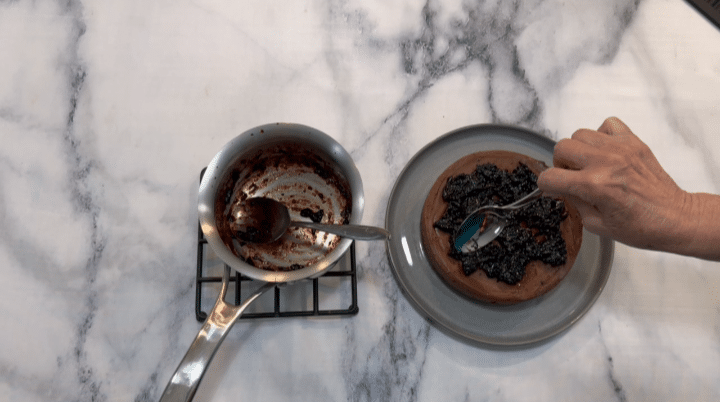
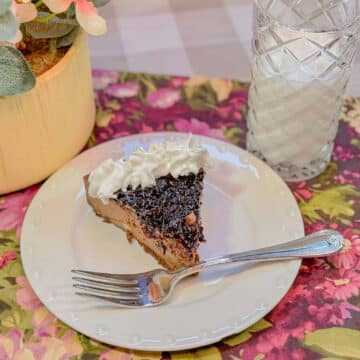
Step18: Allow the compote to cool down for 5 to 10 minutes. Once the compote has cooled and thickened slightly and then pour it onto your cheesecake.
Step19: Serve and enjoy!
Expert Tips
- Blend until silky: No grainy cashew bits allowed. Blend longer than you think you need.
- Don’t skip the chill: It may look tempting, but cheesecake needs its beauty rest in the fridge to firm up.
- Foil is your friend: Covering the pan with foil keeps condensation from dripping onto your cheesecake.
Common Questions
Absolutely! Just thaw and drain them well before using.
Swap cashews for silken tofu or coconut cream for a nut-free version.
Technically no—you could bake it—but the Instant Pot gives you that perfect creamy texture without cracks or fuss.
Yes! While this recipe is designed to be fully vegan, you can swap the coconut milk for heavy cream and the cashews for cream cheese if you’re not avoiding dairy. The texture will still be rich and creamy, though the flavor will shift slightly from the light nuttiness of cashews to a more traditional cheesecake taste.
Storing Instructions
- Fridge: Store covered in the fridge for up to 5 days.
- Freezer: Freeze slices individually for up to 2 months. Thaw overnight in the fridge before serving.
- Pro tip: Store it out of sight if you actually want it to last more than 24 hours.
Did you make this Instant Pot Vegan Cherry Chocolate Cheesecake? Rate the recipe and leave a comment to let me know how they turned out!
Recipe
This Instant Pot Vegan Cherry Chocolate Cheesecake Will Blow Your Mind (and Your Tastebuds)
Ingredients
- 16 ounces vegan cream cheese room temperature
- ½ cup vegan sour cream room temperature
- ⅓ cup coconut sugar
- 2 tablespoons vegan unsweetened cocoa powder
- 4 ounces melted vegan semi-sweet chocolate
- 6 tablespoons Just eggs room temperature
- 1 box Simple Mills Seed and Nut Flour Sweet Thins Chocolate Brownie, Gluten-Free, 4.25 oz
- Cherry Compote:
- 1.5 cup frozen cherries defrosted. Do not microwave to thaw. Allow to defrost overnight.
- ⅓ cup coconut cane sugar
- 2 tablespoons freshly squeezed orange juice
Instructions
- Prepare your crust by placing 4.25 oz Simple Mills Seed and Nut Flour Sweet Thins, Chocolate Brownie, into a food processor and blend until they form crumbs.
- Place your crust in a 7” springform pan, and pack down with your hand or a measuring cup on the bottom and 1.5 inches up the sides.
- Place the crust in the freezer until the filling is ready.
- To make your filling, start with all room-temperature ingredients. Place the vegan cream cheese into a large mixing bowl and mix on high until light and fluffy.
- Next, add coconut sugar and mix until just combined.
- Next, add vegan sour cream and mix until just combined, being careful not to overmix. Be careful not to create air bubbles.
- Add the melted chocolate, cocoa powder, and mix just until combined.
- Next, fold in Just eggs. Add your Just eggs one tablespoon at a time and mix just enough so that they are fully incorporated.
- Pour your filling into your prepared crust and cover the top of your pan with tin foil.
- Prepare your Instant Pot with one cup of water and place a trivet in the bottom of your pot.
- TIP: Make a sling by tearing a piece of aluminum foil, folding in half to make a long strip, and place that on your trivet. This will make it easier to remove your pan afterwards!
- Place the spring pan in your pot and place the lid on. Make sure the pressure cooker is sealed.
- Set on high pressure for 35 minutes.
- After 35 minutes, allow for a natural release. Do not do a quick release.
- When you can open the pot, remove your spring pan carefully and place it somewhere that it can cool and not be touched. You can remove foil from the top, but keep in mind the mixture will be jiggly.
- After the cheesecake has cooled completely to room temperature, place it in the refrigerator overnight.
- The next day, it’s time to make your compote. Prepare the Cherry Compote. Place the thawed cherries, sugar, and orange juice in a saucepan, and cook over medium-low heat for about 10 minutes, gently mashing the berries as the mixture cooks. Allow the mixture to simmer for an additional 10 minutes, until it is thick and Jammy.
- Allow the compote to cool down for 5 to 10 minutes. Once the compote has cooled and thickened slightly and then pour it onto your cheesecake.
- Serve and enjoy!
Expert Tips:
- Blend until silky: No grainy cashew bits allowed. Blend longer than you think you need.
- Don’t skip the chill: It may look tempting, but cheesecake needs its beauty rest in the fridge to firm up.
- Foil is your friend: Covering the pan with foil keeps condensation from dripping onto your cheesecake.


Comments
No Comments