Learn how to make ghee right at home with this simple step by step process. Ghee has a wonderful nutty flavor with incredible toffee undertones that brings such a richness to any dish you use it for!
For years, I bought ghee at the store because I never really thought about making it myself. It typically cost me between $12-$18 for an 8-12 ounce jar of it.
And I used a ton of ghee to make dishes like this spicy zucchini curry or my favorite whole roasted Indian chicken (I LOVE this juicy roast chicken).
I love ghee because you can store it in the pantry instead of the fridge, and it lasts such a long time!
Plus, it has a high smoke point so it's great for searing steaks or pork chops or roasting vegetables at high heats, unlike butter which will burn.
And the flavor...that nutty, toffee-like flavor is just absolutely incredible. It trumps butter in a big way.
Jump to:
What is Ghee?
Ghee is a clarified butter than is made by simmer butter and removing all the milk solids as they rise to the top (or sink to the bottom).
Once the milk solids are removed, you are left with a clarified butter with a delicious nutty flavor. And because the milk solids have been removed, the smoke point is higher making it great to use for searing a steak, etc.
Ghee is traditionally a staple of Indian cuisine, but has risen in popularity due to some of the health benefits it provides. Read about the health benefits of ghee.
What is The Difference Between Ghee and Clarified Butter?
The main difference is the length of time ghee cooks. We continue cooking the ghee over low to medium low heat until the milk solids in the bottom brown, giving the ghee a nutty flavor that's not found in clarified butter.
Clarified butter is cooked until the milk solids can be skimmed off the top, then its' strained and used. This only takes a few minutes, while ghee takes about 25-30 minutes.
I prefer the nutty flavor in ghee to clarified butter.
Want to Save This Recipe?
Enter your email & I'll send it to your inbox. Plus, get great new recipes from me every week!
By submitting this form, you consent to receive emails from Went Here 8 This.
Benefits of Making Your Own Ghee
I am a firm believer that ingredients you make fresh at home just taste better (like this homemade garam masala). The ghee in this recipe has a nutty, almost toffee like flavor, which is hard to replicate in mass produced store bought versions.
In addition to that, it is considerably cheaper to make your own ghee. Butter tends to be cheaper than ghee, and the cost of making it at home takes only your time!
You can use it in place of butter for a healthier alternative and a wonderful flavor.
Ingredients
Using good quality unsalted organic, grass fed/pasture fed butter will yield the best results for this recipe.
Other than that, you will cheesecloth or a coffee filter for straining the butter, and a covered container or glass jar for storing it.
Step By Step Instructions
Chop the butter into equal size pieces and place in a heavy bottomed skillet (or cast iron), Dutch oven or a stainless steel skillet.

Melt the butter over medium heat, then immediately turn the temperature down to medium-low.
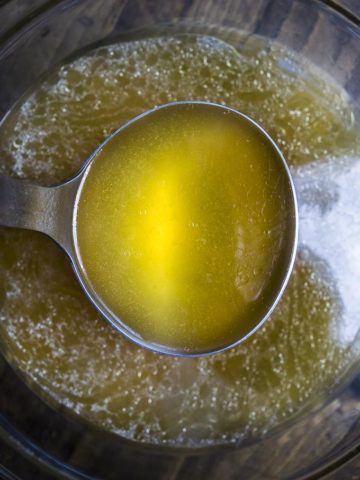
As the butter cooks, use a slotted spoon to skim the foam off the top and discard.
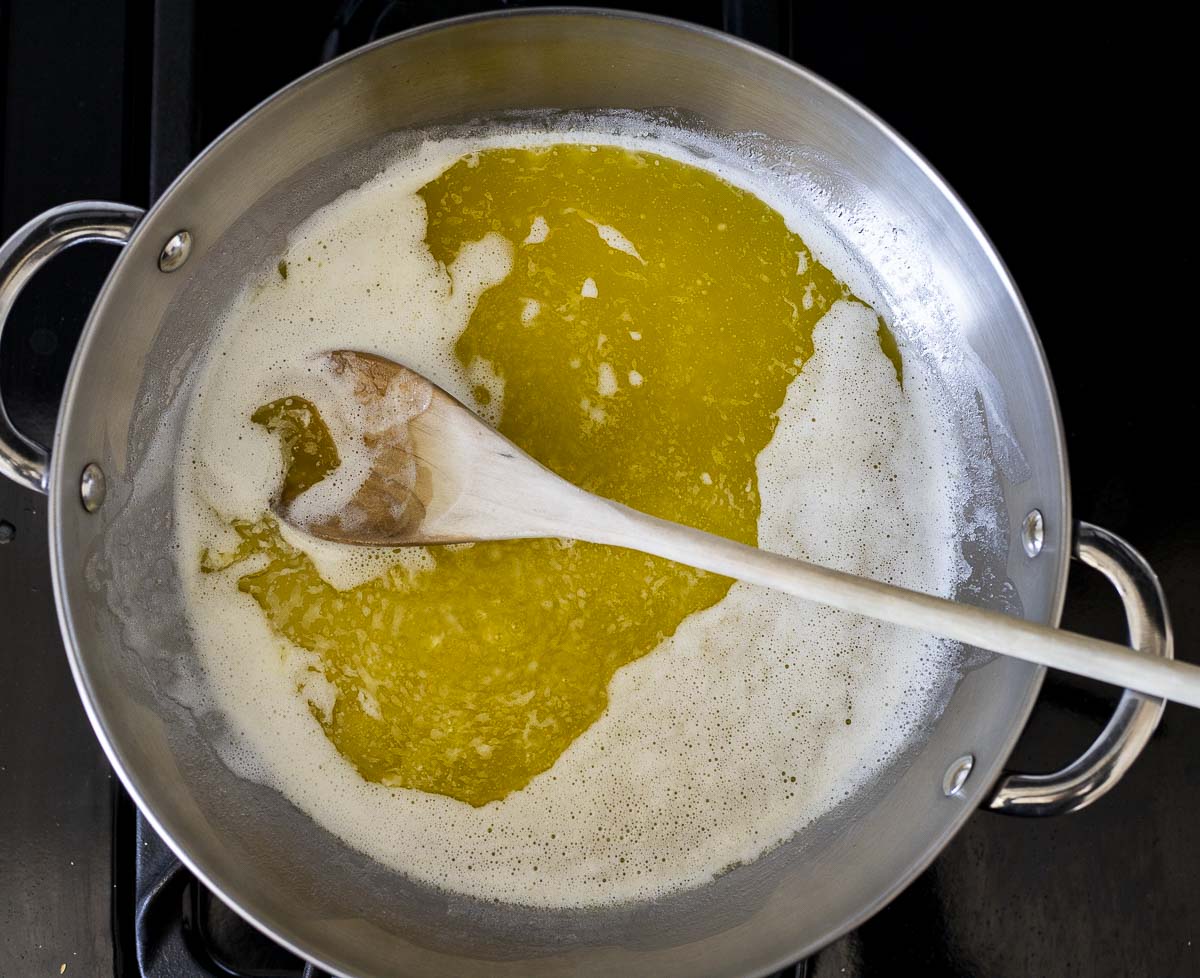
Continue skimming periodically until the top has become clear (should take about 20 minutes). Continually removing these solids is how the clarified butter forms.
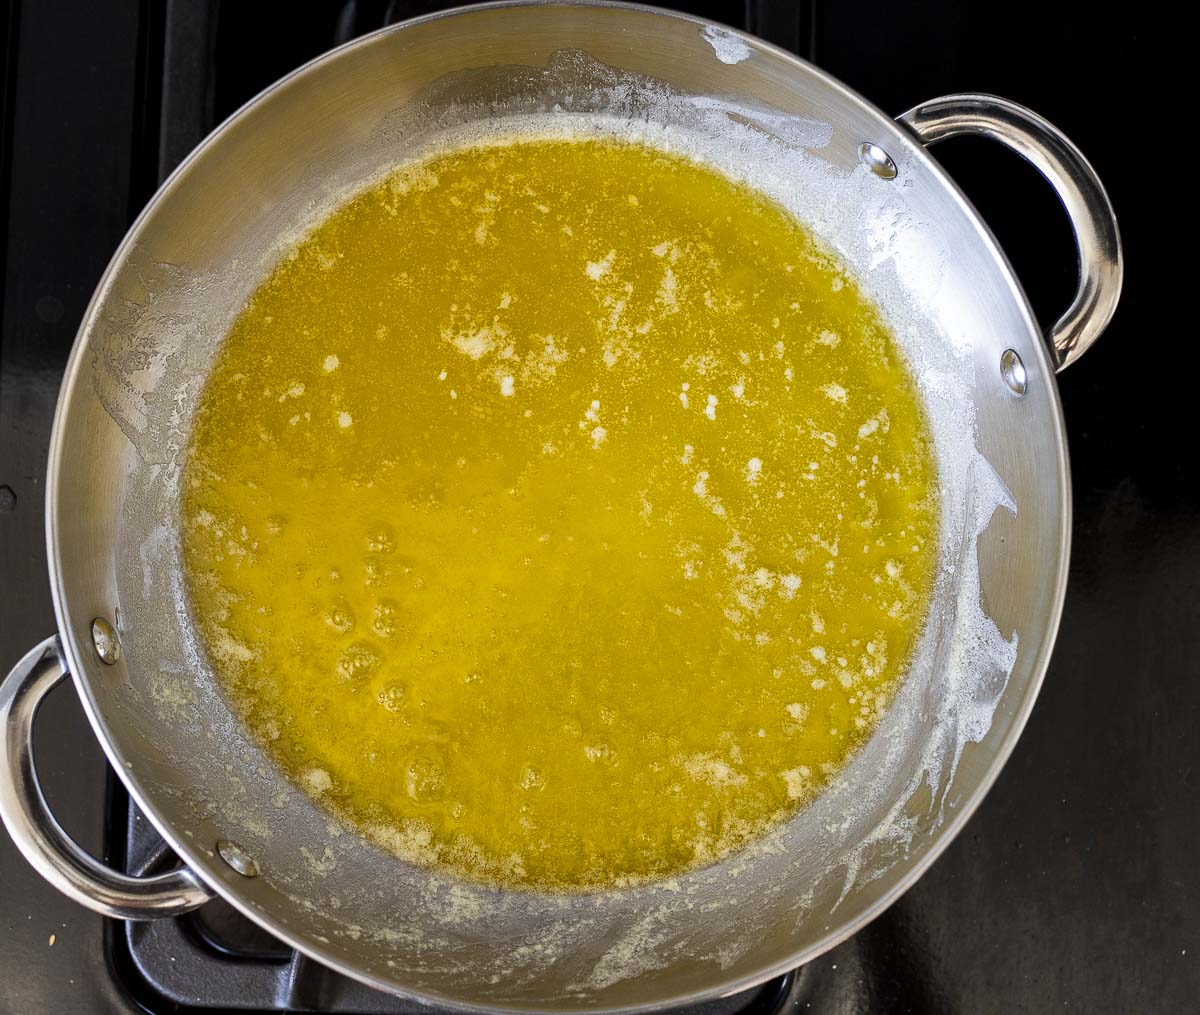
Once the top is clear, continue cooking until the milk solids in the bottom of the skillet have begun to brown (this is what gives ghee it's nutty flavor) and turn an amber color. This should take about 5-10 minutes.
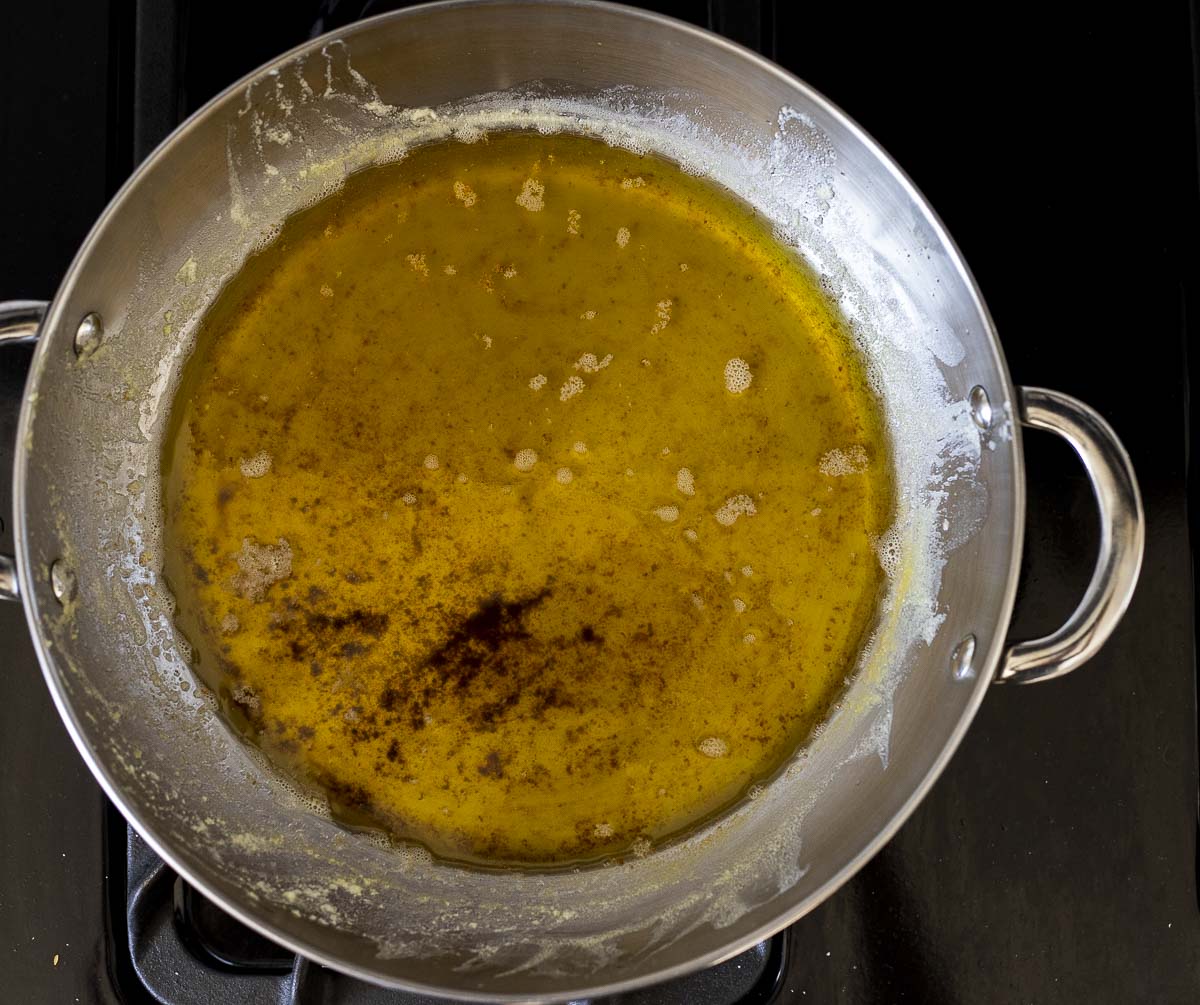
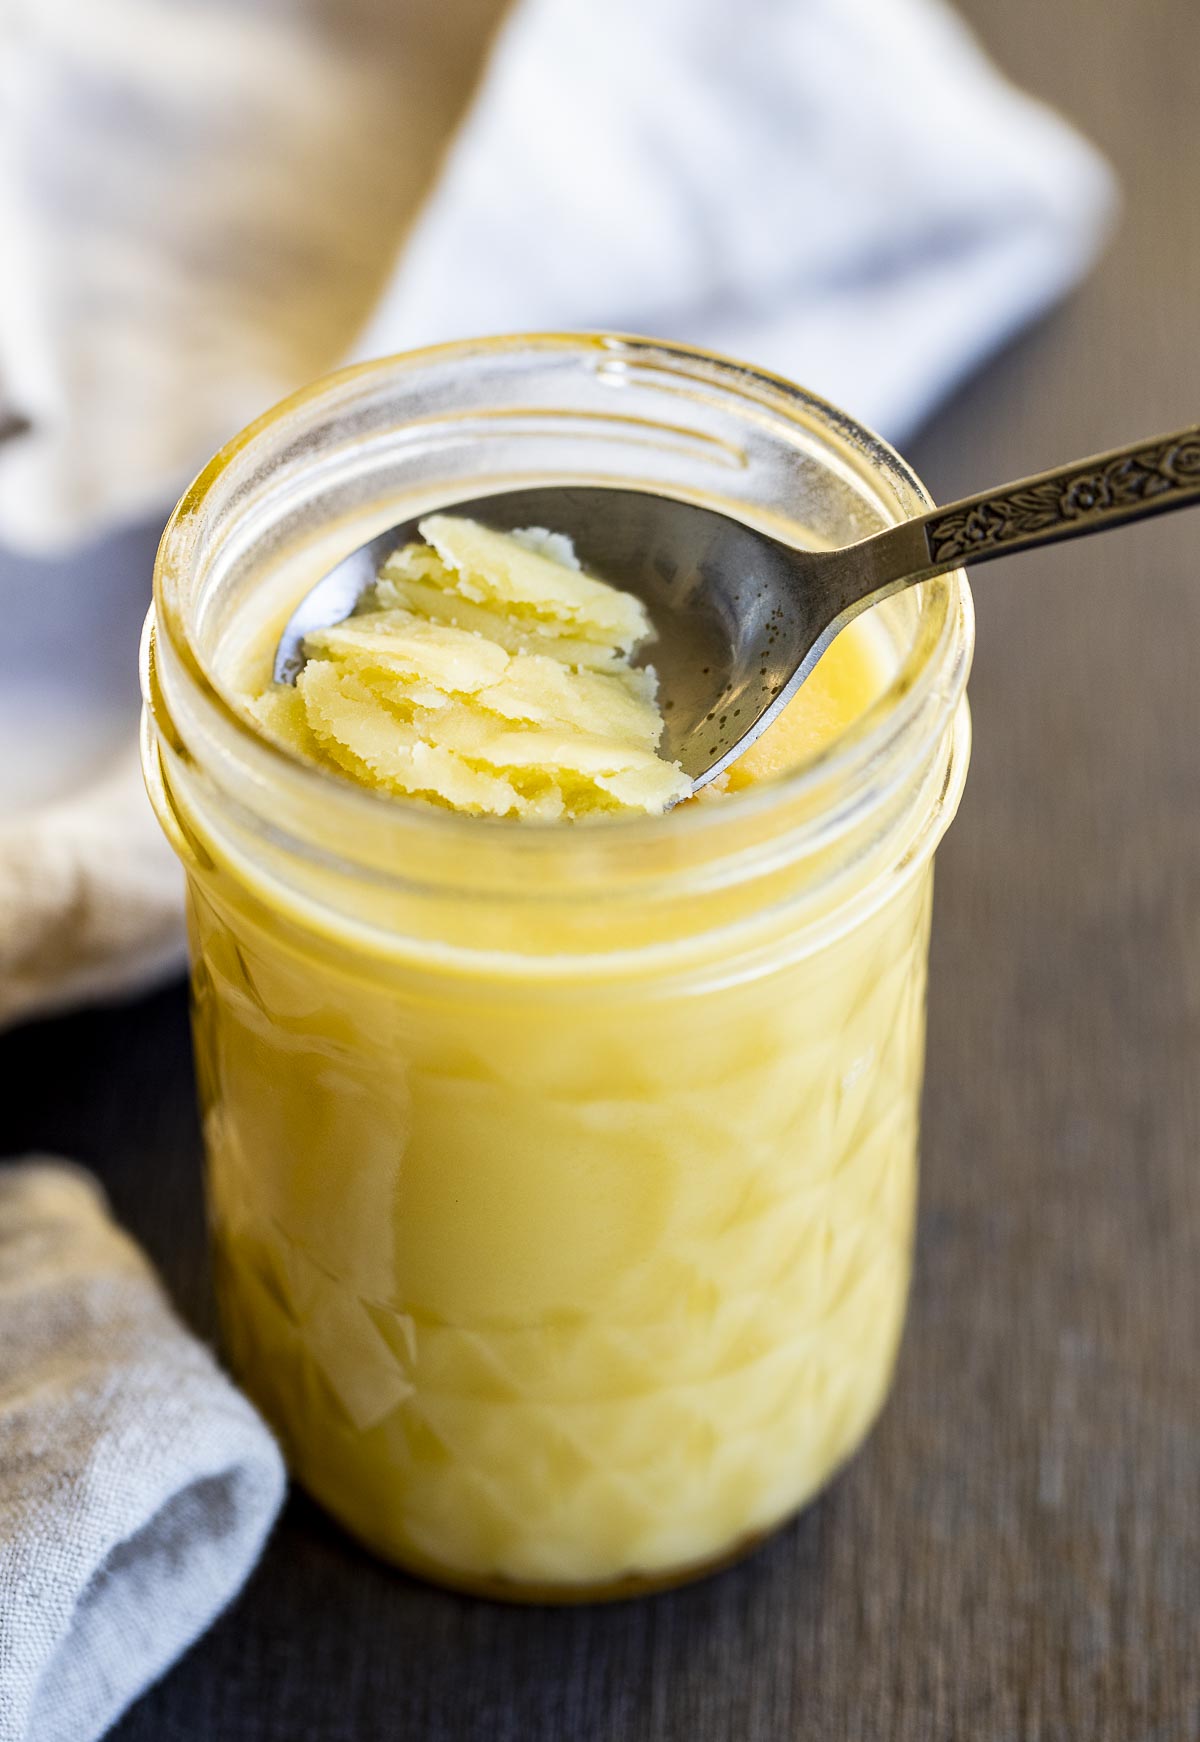
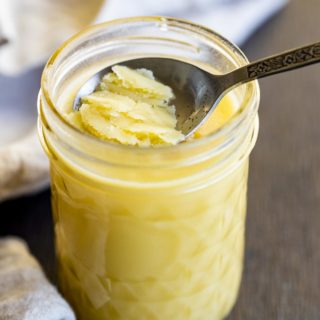
Once the ghee is golden in color and smells nutty and a little like toffee, remove it from the heat. Allow it to cool for a couple minutes.
Place cheesecloth in a strainer over a bowl.
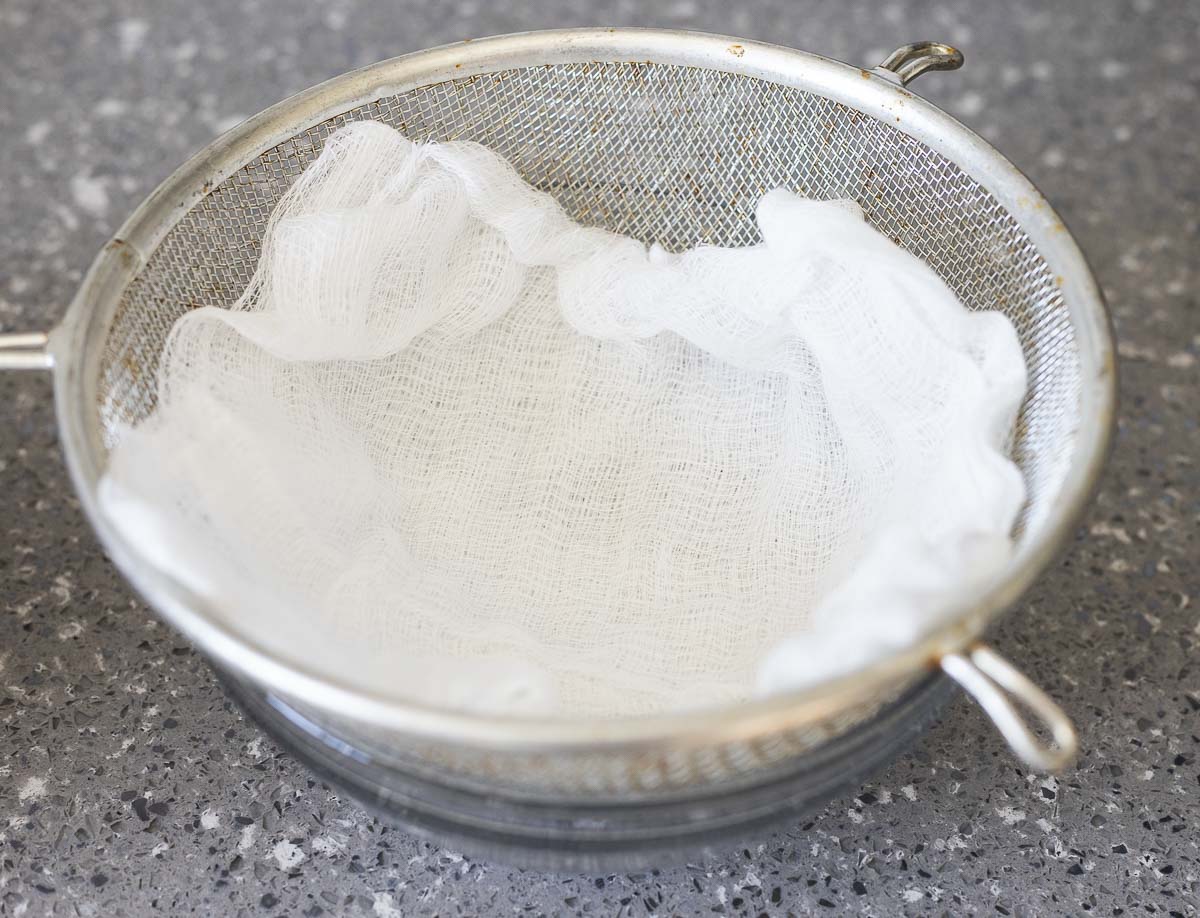
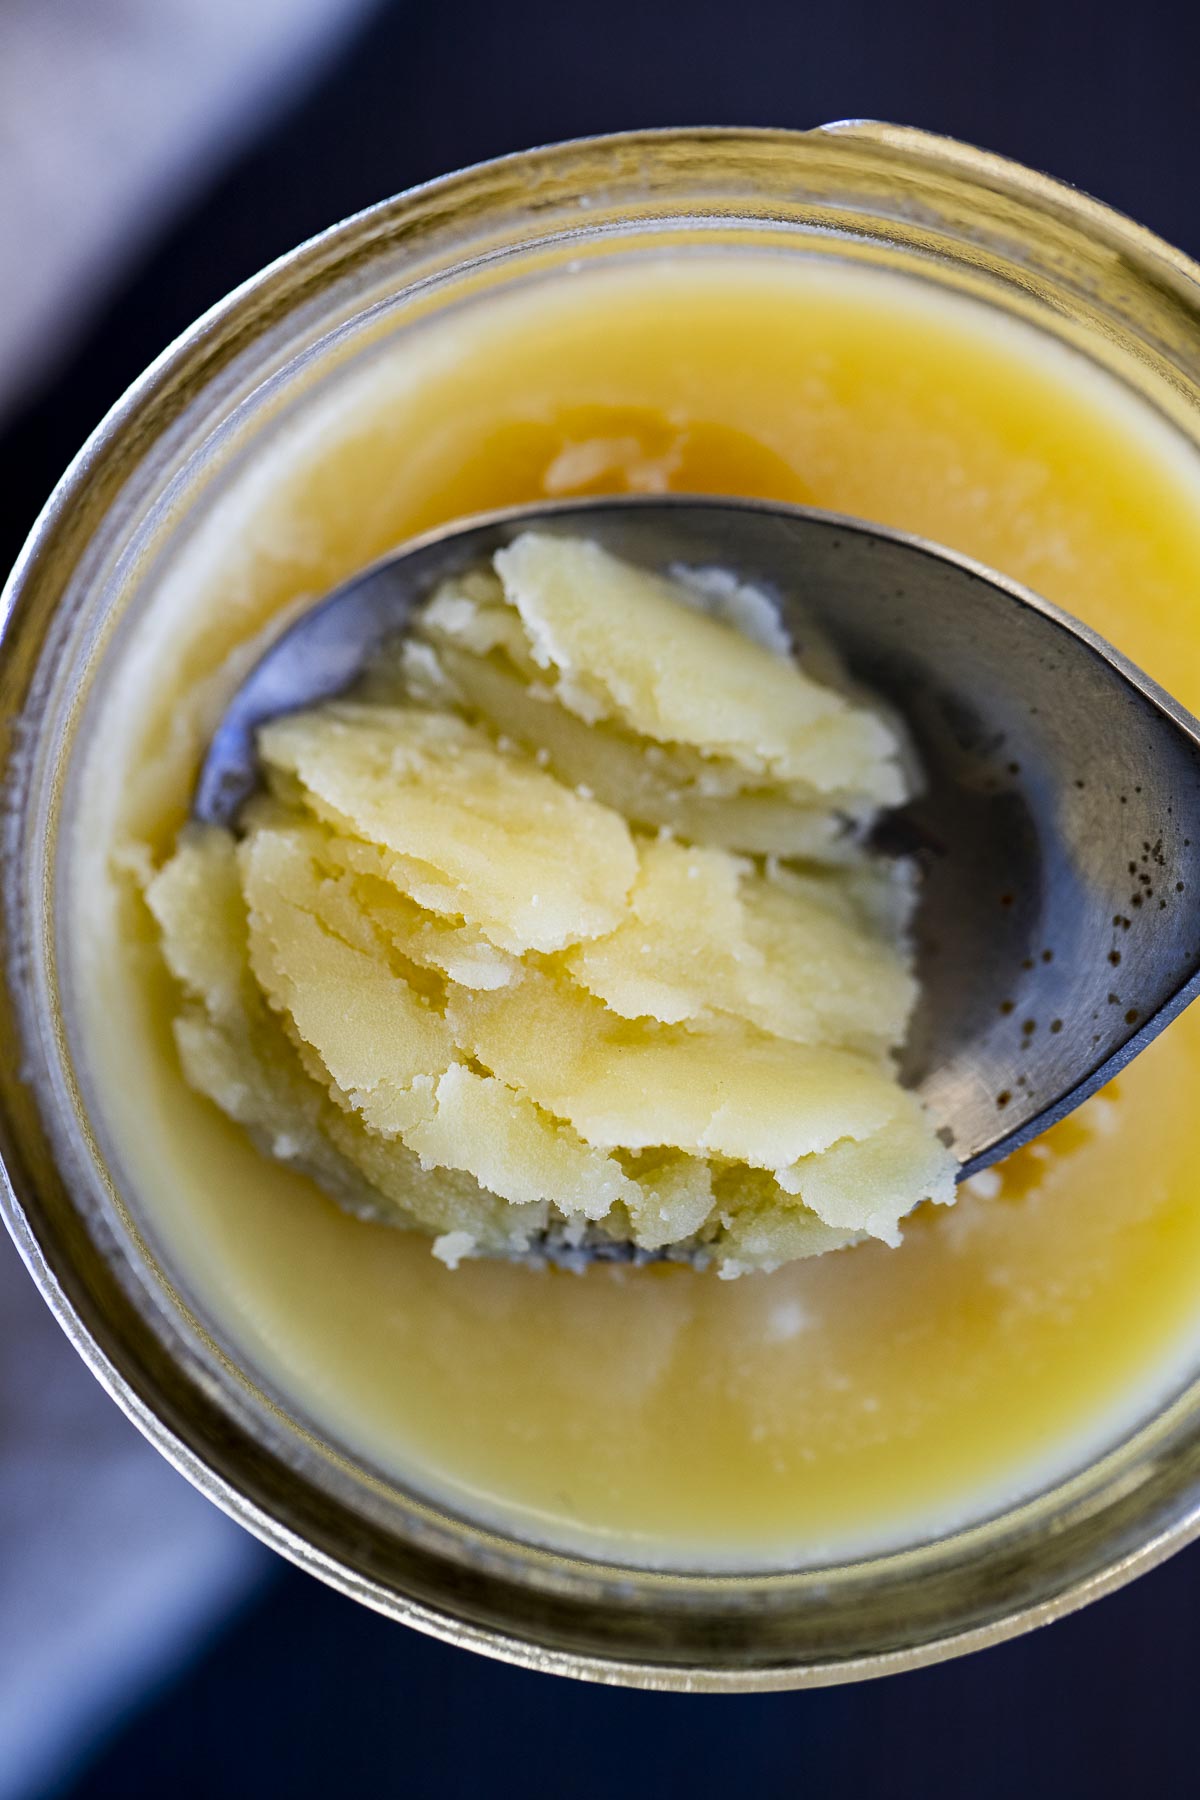
Carefully pour the ghee in to strain all the milk solids.
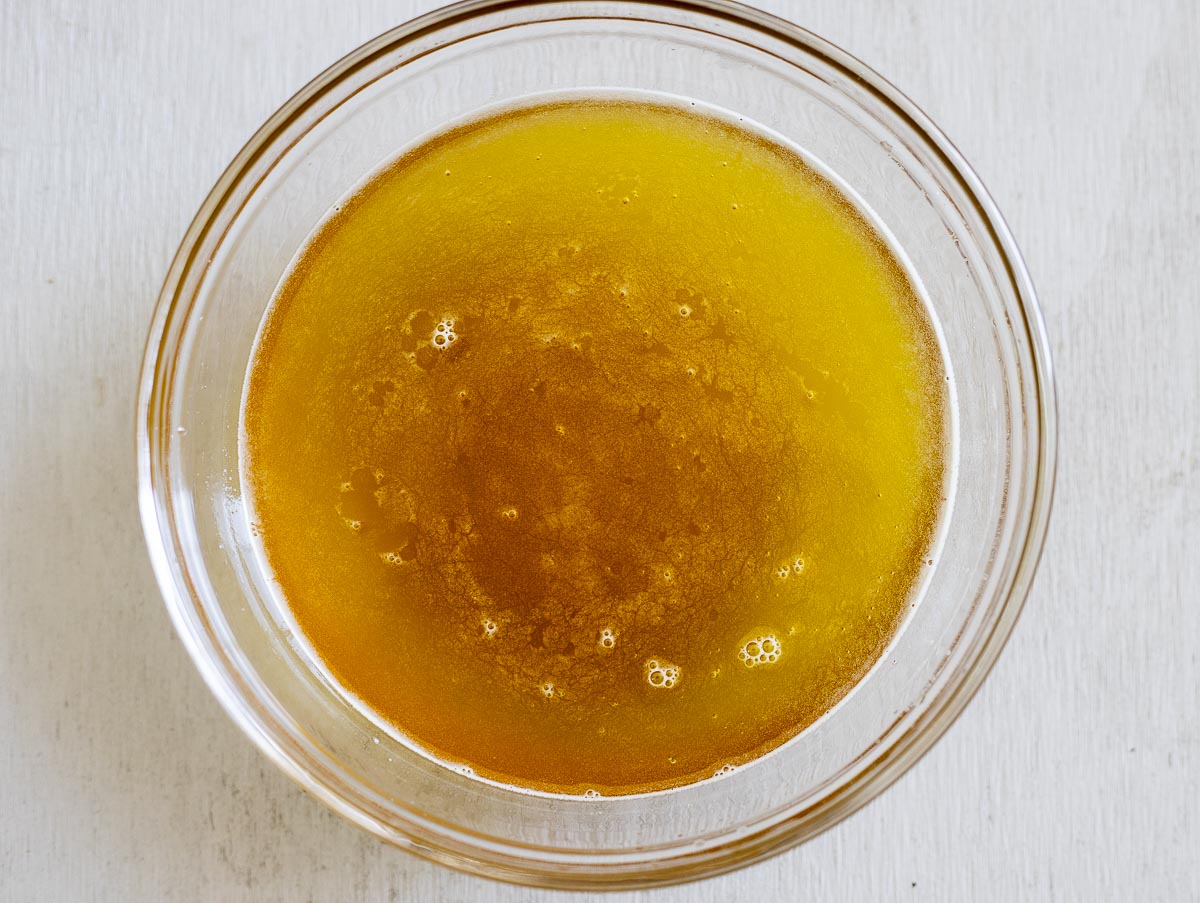
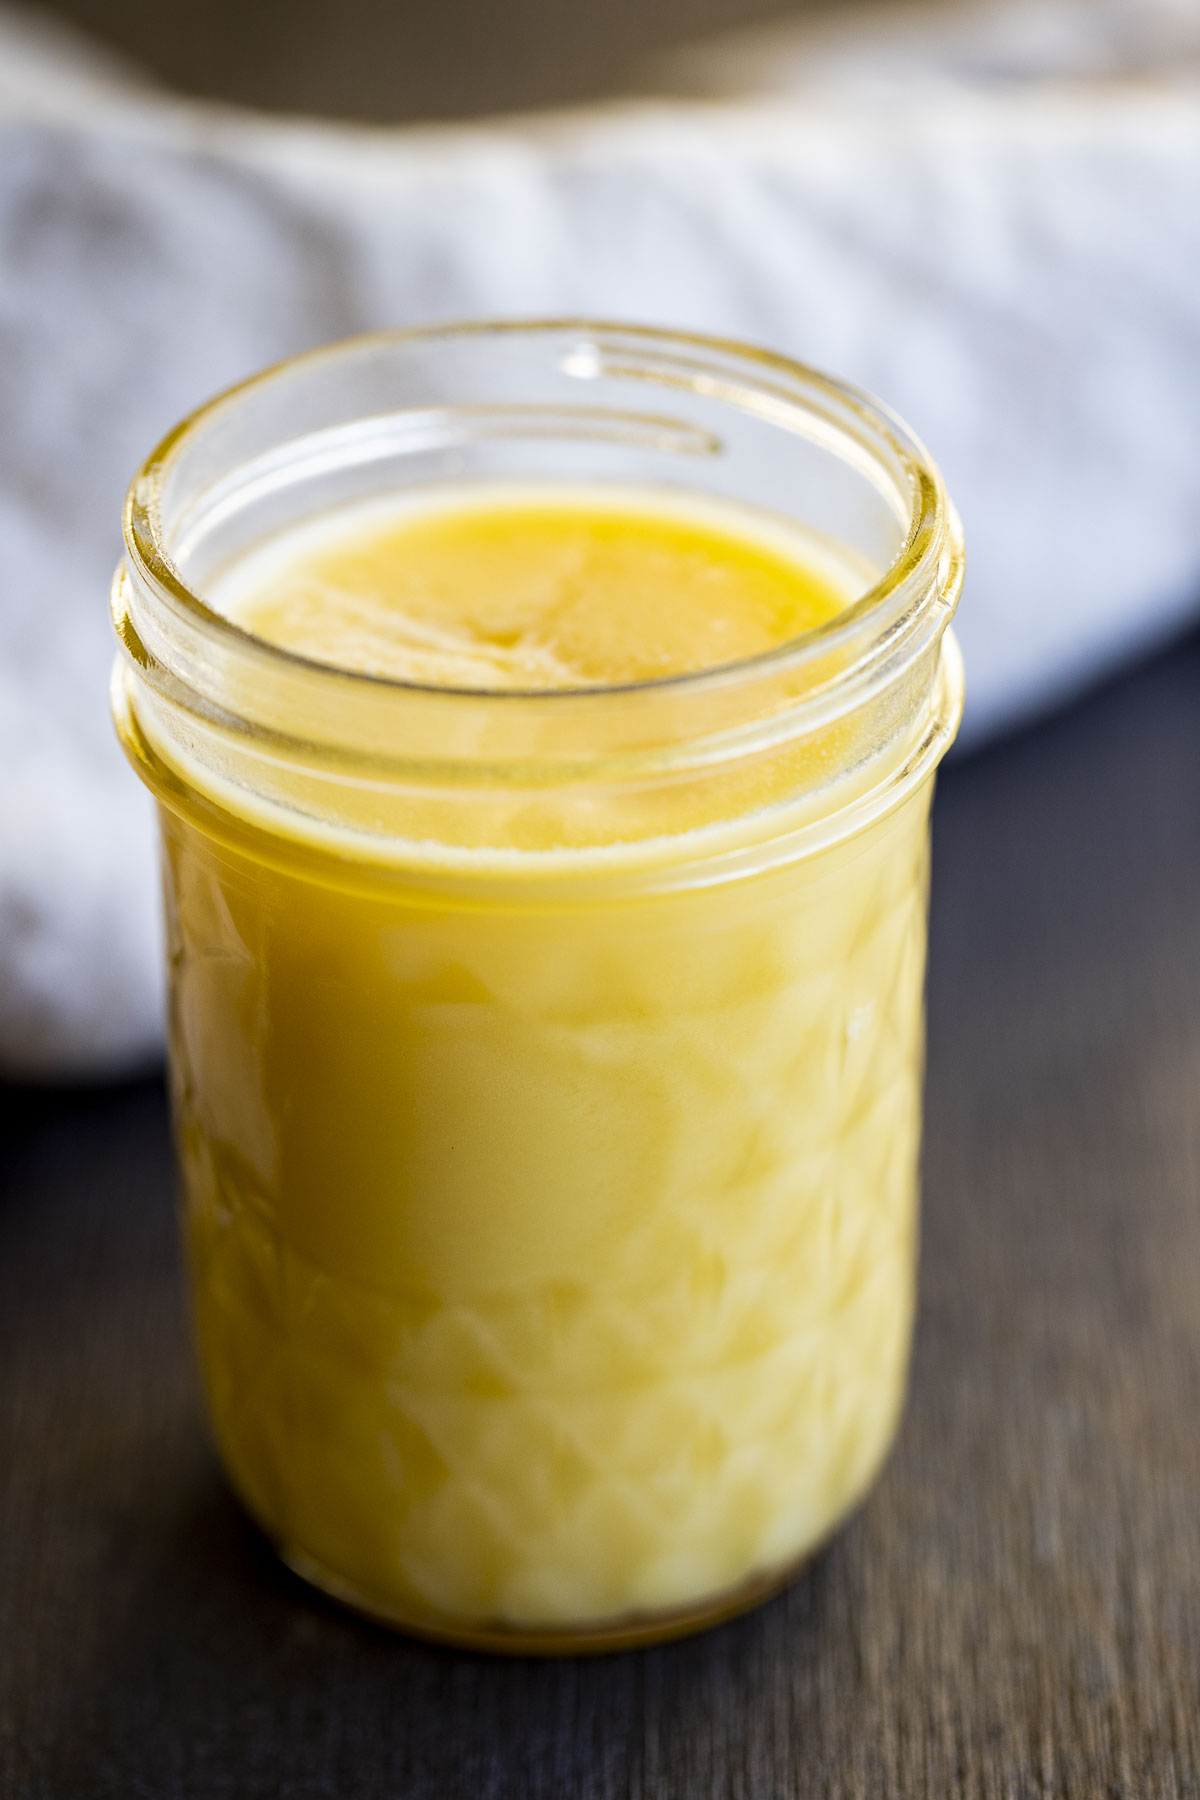
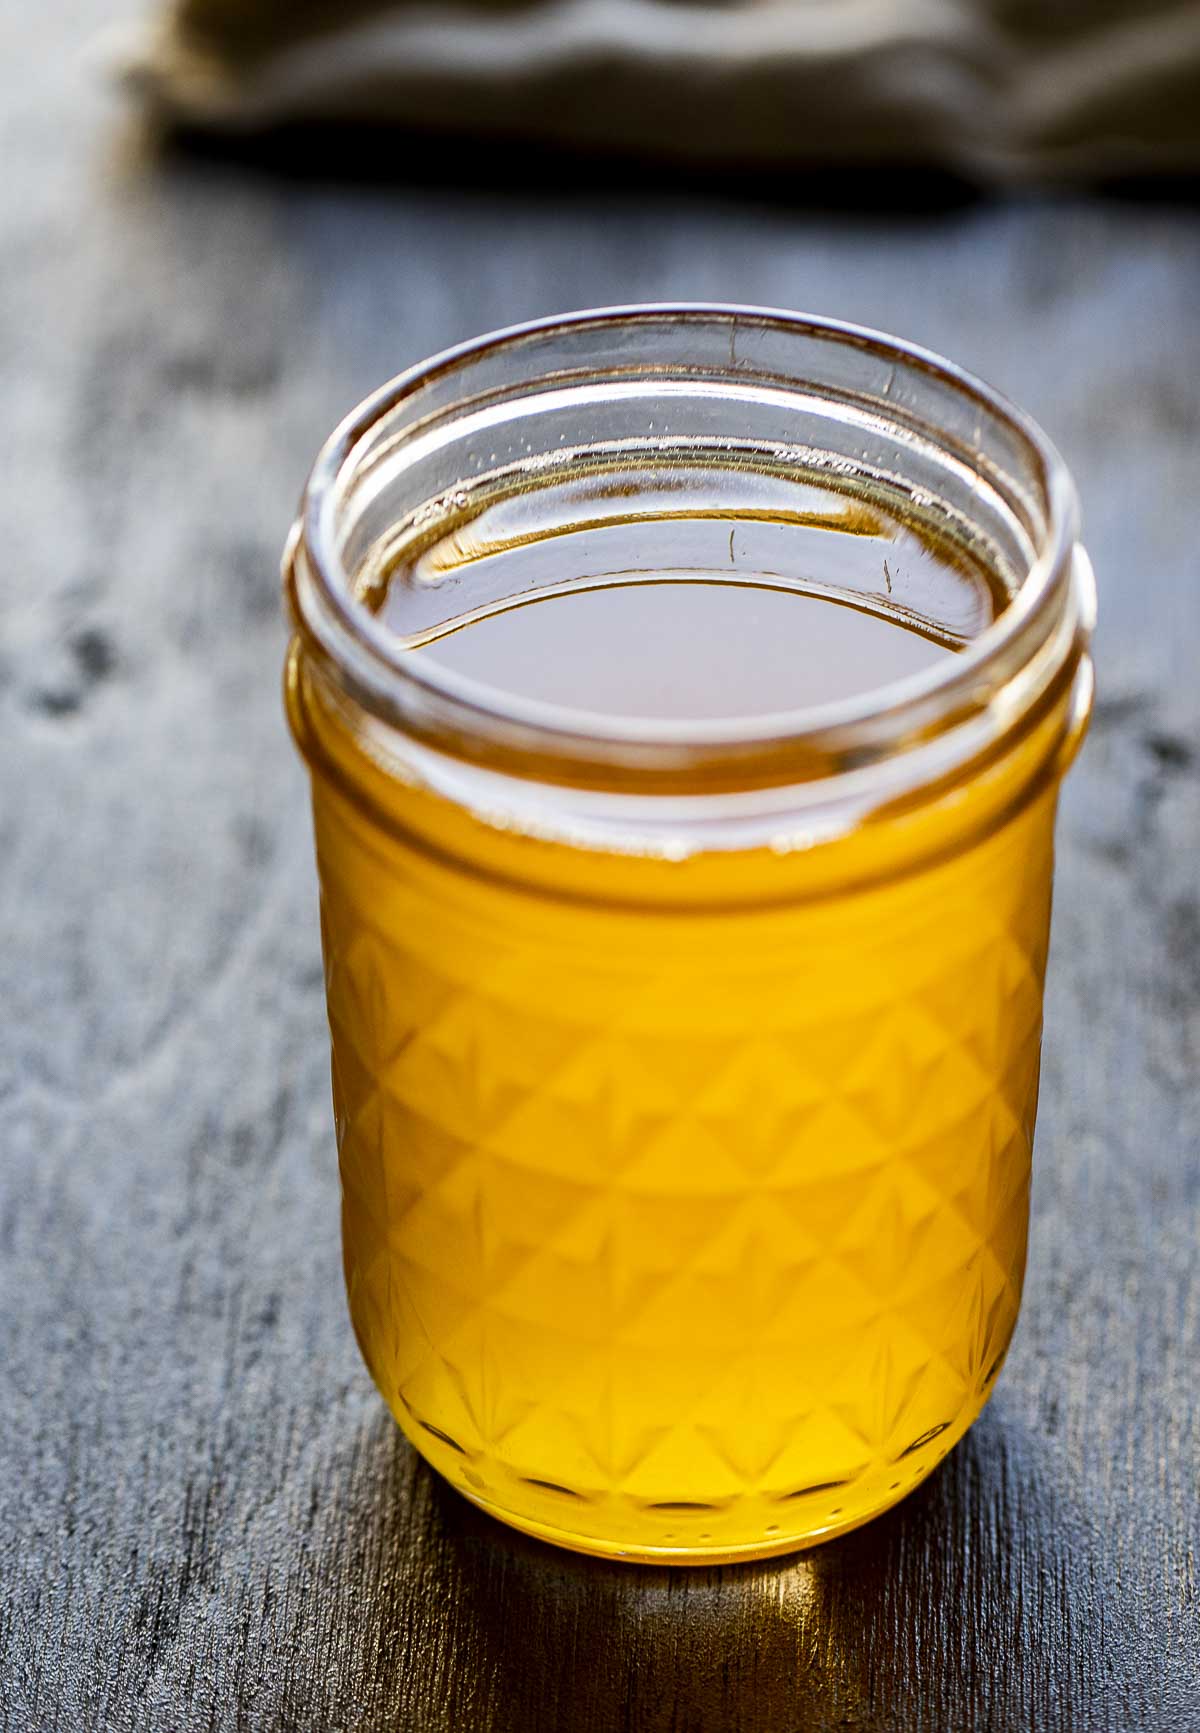
Transfer it to a glass jar with a lid and store in the pantry for up to 3 months, or in the fridge for up to a year. **it becomes solid at room temperature or in the fridge - don't worry!
How to Use Ghee
Ghee can be used in place of butter for almost any recipe. Use it to sear a steak, veal chops, lamb chops (any kind of meat actually), or replace the butter in these truffle mashed potatoes.
I love it in these Indian recipes:
These recipes call for coconut oil, but substitute ghee for an amazing flavor!
Expert Tips
- Be careful not to let the milk solids burn as it will give your ghee a bitter taste.
- Always keep the termpature on low or medium-low to make sure the milk solids don't burn.
- Use a coffee filter instead of cheesecloth to strain the ghee.
Did you make this ghee recipe? Rate the recipe and leave a comment below to let me know what you think!
Recipe
How to Make Ghee
Ingredients
- 1 pound organic unsalted butter
Instructions
- Chop butter into equal size pieces and place in a heavy bottomed skillet (or cast iron), dutch oven or a stainless steel skillet.
- Melt the butter over medium heat, then immediately turn the temperature down to medium-low.
- As the butter cooks, use a slotted spoon to skim the foam off the top and discard.
- Continue skimming periodically until the top has become clear (should take about 20 minutes).
- Once the top is clear, continue cooking until the milk solids in the bottom of the skillet have begun to brown and turn an amber color. This should take about 5-10 minutes.
- Once the ghee is golden in color and smells nutty and a little like toffee, remove it from the heat. Allow it to cool for a couple minutes.
- Place cheesecloth in a strainer over a bowl and carefully pour the ghee in to strain all the milk solids.
- Transfer it to a glass jar with a lid and store in the pantry for up to 3 months, or in the fridge for up to a year.
Expert Tips:
- Be careful not to let the milk solids burn as it will give your ghee a bitter taste.
- Always keep the termpature on low or medium-low to make sure the milk solids don't burn.
- Use a coffee filter instead of cheesecloth to strain the ghee.


G.D.L. says
I've been making ghee for a long time. The worse part is controlling the hot rockets of butter that explode out as the water is driven off. Temperature control is very very tricky. Happily, I've found the perfect solution: sous vide!
I put 2 pounds of butter in a vacuum bag and put it into my sous vide container at 185° for 30-35 minutes. The result was the butter floated to the top and both the water and milk solids sunk to the bottom. I clipped one corner of the bag to a tall book end and placed it into my refrigerator. After about an hour the butter had solidified on the top and the water/solids sunk to the corner of the bag that was down.
I transferred the bag, clipped to the tall book end, to the sink and clipped off the bottom corner hanging into the sink. All the water and most of the solids went into the sink. Next, I liberated the now solid clarified butter from the bag and transferred it to a pot where I heated it up to develop the nutty ghee flavor.
Very little foam on top that was easily removed by a spoon; less than a teaspoon of solids on the bottom turned brown and gave the ghee it's new color and flavor!
Most importantly, no hot rockets of butter exploding all over my range!
Danielle says
What a great idea! I do a lot of sous vide cooking but have never tried ghee. I am definitely going to try this. Thanks for the tips!
Nancy says
A quick little tip: rather than discarding your skimmed foam, place. It in a small bowl, cover and put in your fridge. This can be used to fry anything as it is still butter. It can also be spread on toast, a warm bagel, etc.. If you have a dog or cat you can also save your milk solids and give it to them as an extra treat in their food. This is what makes your ghee even more valuable as nothing is going to waste
Danielle says
Wonderful tip! Thanks for adding that Nancy.
Julia says
I am so happy I have found this detailed recipe how to make a ghee. Always wanted to try it but never got the whole process lol. Thanks so much for sharing!
Danielle says
You're welcome Julia!
Jen says
Ghee is becoming so popular our grocery is always sold out. I didn't realize how easy it was to make your own. Very easy tutorial to follow!
Danielle says
It's also cheaper to make at home 🙂
Dannii says
We use a lot of ghee to cook curries, so i really should try to make it myself. This looks pretty simple.
Danielle says
It's so awesome in curries!
Kate says
I would never have thought of making ghee at home but you make it sound so straightforward! Love all the expert tips, thanks so much.
Danielle says
You're welcome Kate!
Claudia Lamascolo says
Wow what great instructions I had never even heard of this before but can think of several reasons to want to make it thanks
Danielle says
I hope you check it out Claudia!